Can you make earrings with a Cricut Maker?
Yes!
Can you make leather earrings with a Cricut Explore Air 2?
Yes, you can!
I love making earrings with a Cricut. Earring crafts are my favorite way to use my machine! One of the reasons I love my Cricut Maker is how versatile it is. You can make hundreds of different types of craft projects with a Cricut Maker. It never ceases to amaze me.
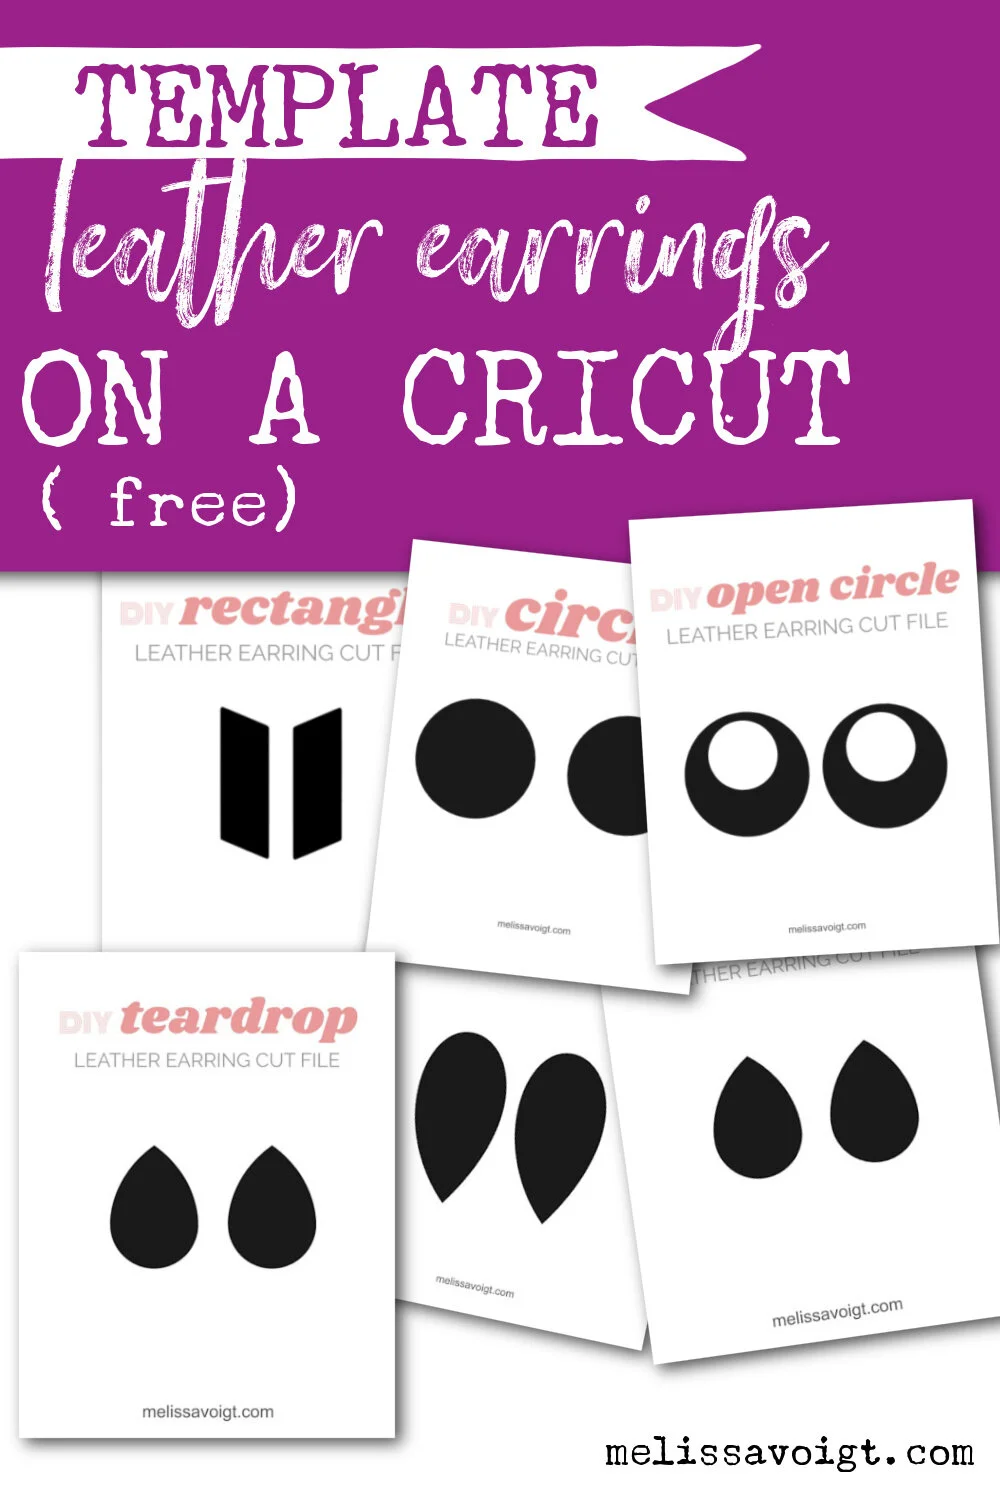
I have a lot of DIY jewelry tutorials on the blog. All of my Cricut earrings include an earring template you can get inside my free resource library. Check out the bottom of this post for access to my templates.
Let’s make earrings!
This post contains affiliate links. If you click on something in the post and make a purchase, I may receive a small commission at no additional cost to you. 
WHAT CRICUT IS BEST FOR MAKING LEATHER EARRINGS?
You can make leather earrings with a Cricut Maker or a Cricut Explore Air. 2 It is important to do your homework before you buy!
Related:
Cricut Maker vs Cricut Explore Air 2
10 Things You Need to Know about a Cricut Maker
The Best Cricut Projects for Beginners
Cricut faux leather and Cricut genuine leather will cut on a Cricut Maker AND Cricut Explore Air 2. I find that cutting Cricut leather is a great beginner’s project. It is super easy to cut. Your machine will tell you exactly how to cut this leather.
It is important to note: the Cricut Maker will cut more materials than a Cricut Explore Air. The Cricut Maker has more force and capabilities than a Cricut Explore Air.
The biggest difference between the 2 machines is the blades. Not all the Cricut blades are interchangeable between the Cricut Maker and the Cricut Explore Air 2. For example, the knife blade which cuts thicker leather is not compatible with a Cricut Explore Air.
Related:
HOW DO YOU MAKE LEATHER EARRINGS WITH CRICUT?

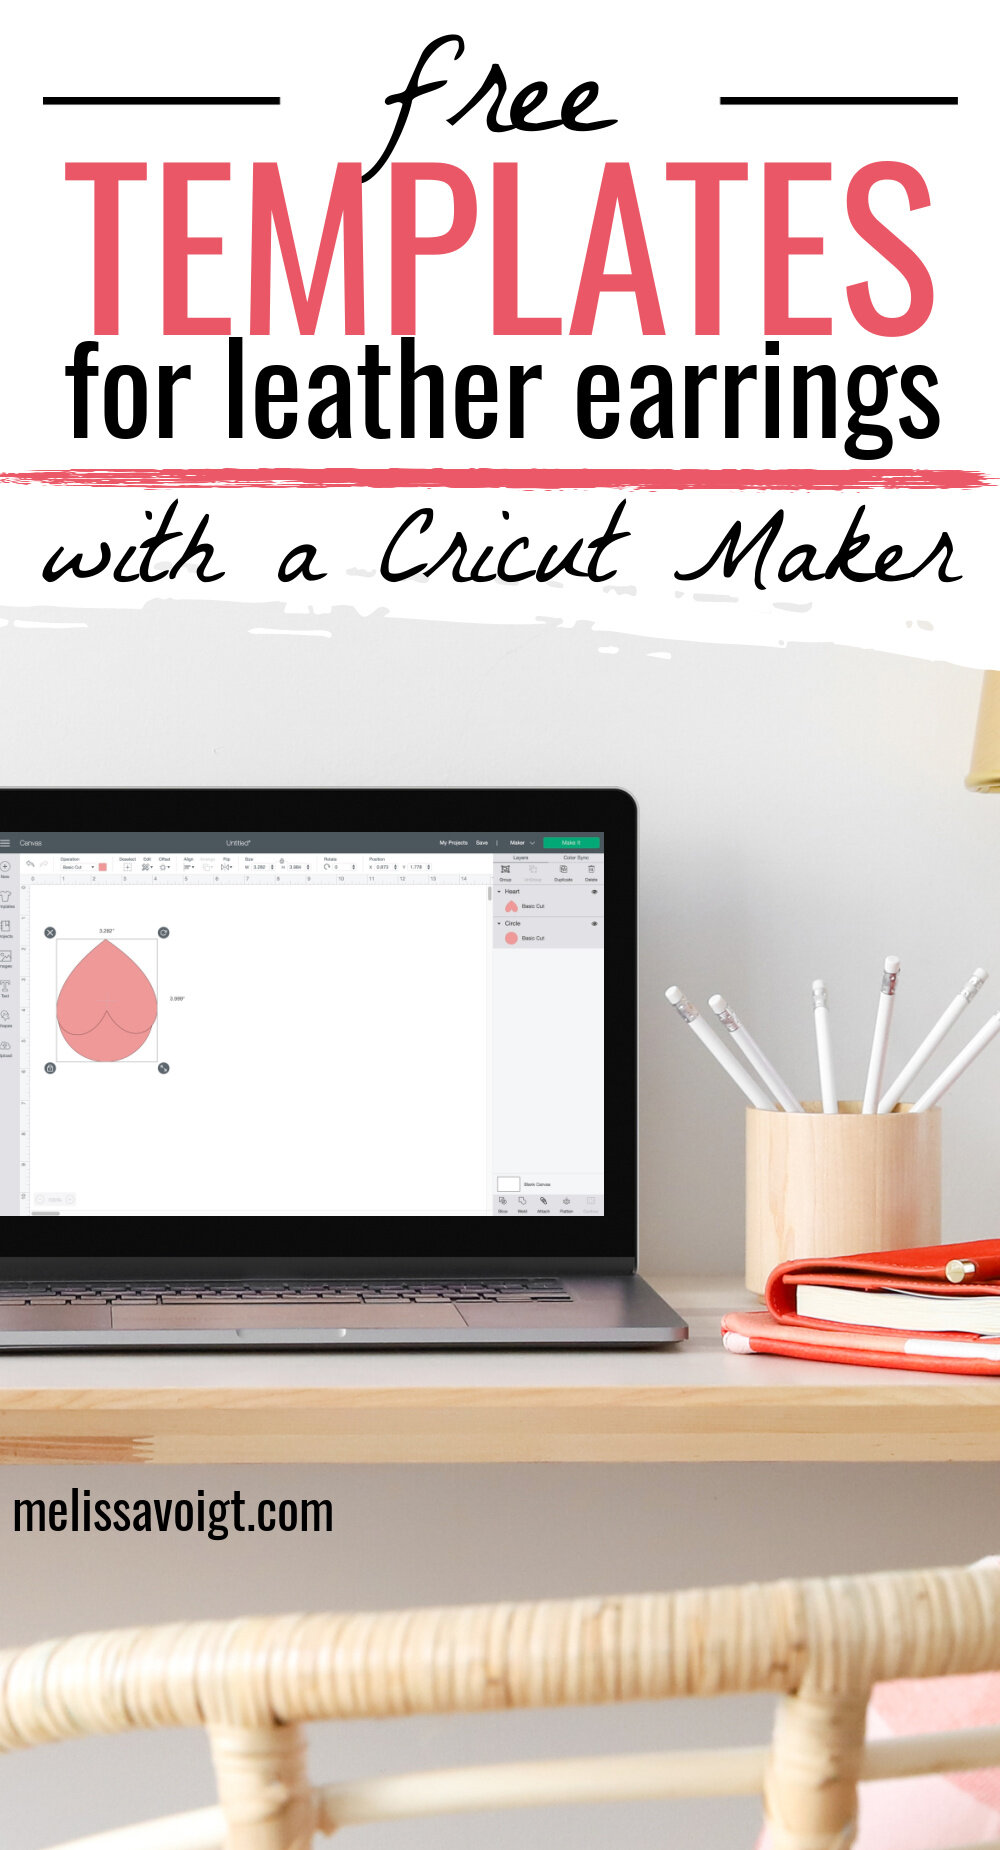
STEP 1. Open a new project in Cricut Design Space.

STEP 2. Upload an earring cut file into design space. You can get access to my free earring cut files HERE.
Related:
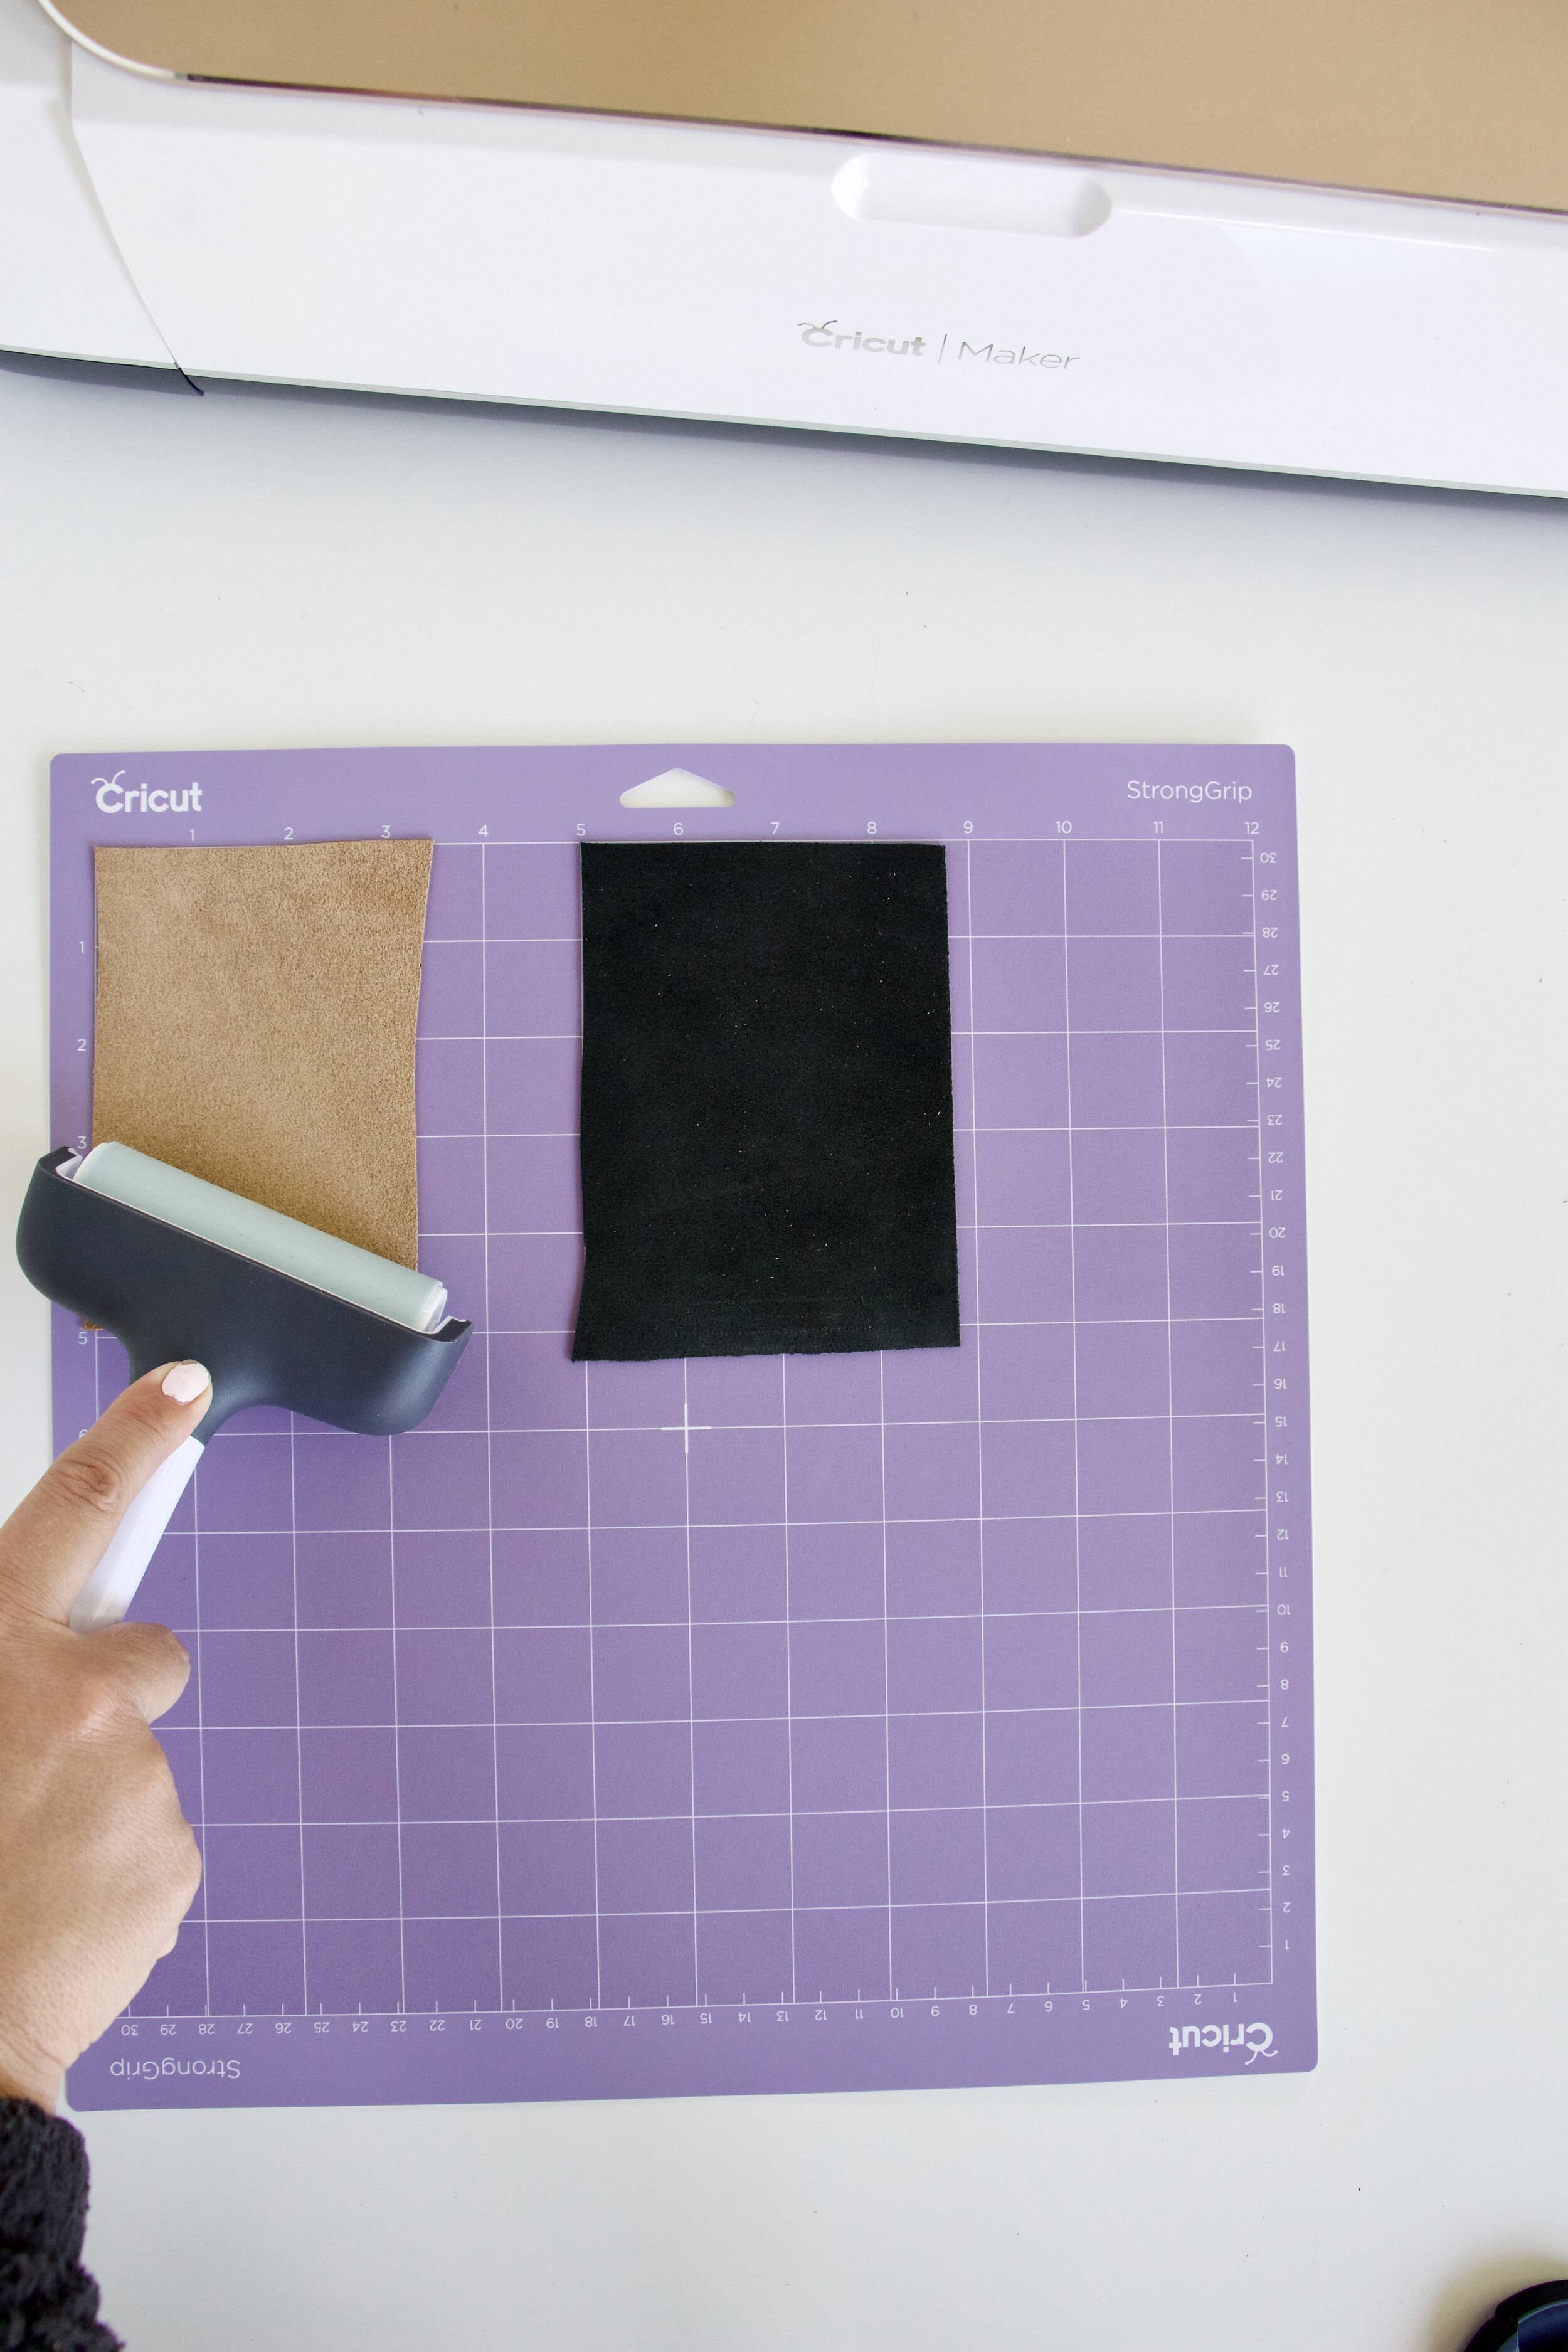
STEP 3. Place leather or faux leather on a Cricut Mat.
Cricut Genuine or Metallic leather needs to be cut on a strong grip mat.
Cricut faux leather needs to cut on a regular grip mat.
STEP 4. Roll your leather with a brayer to ensure the leather sticks to your mat.

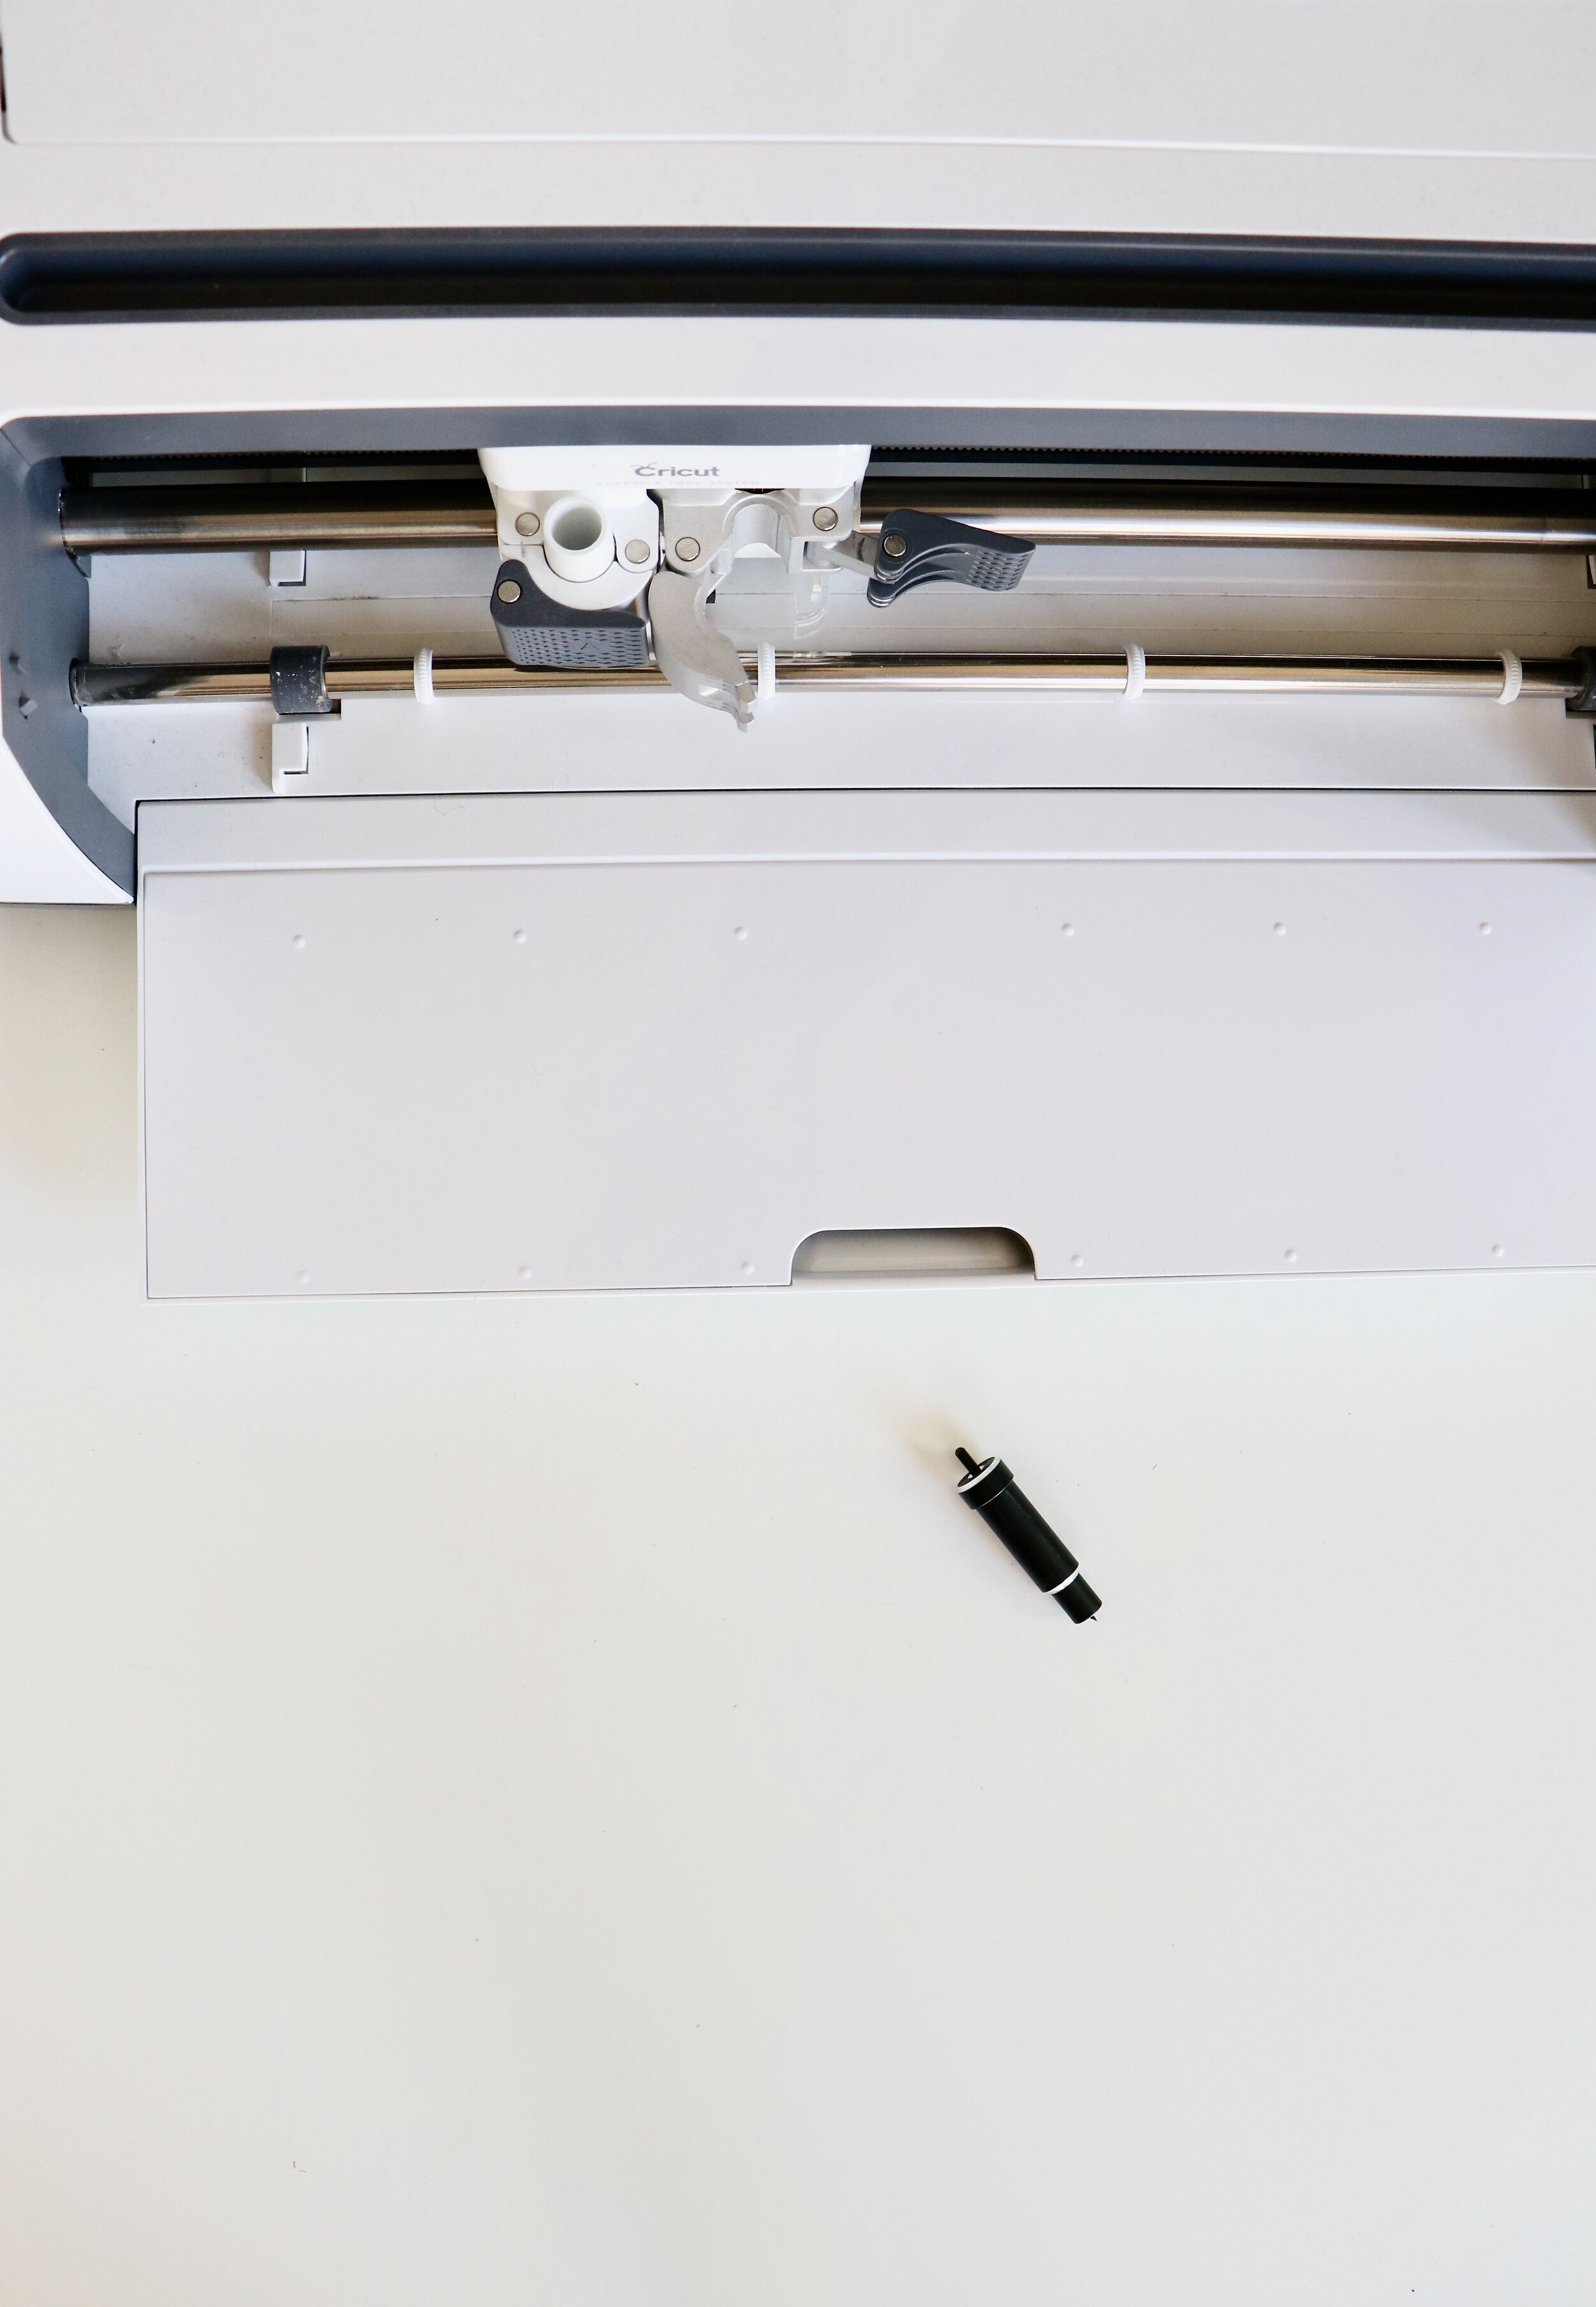
STEP 5. Insert the correct blade into your machine.

STEP 6. Feed your mat into the machine. Click MAKE it inside Cricut Design Space. Follow the prompts.
STEP 7. Select the correct material that you are cutting with inside Cricut Design Space.
STEP 8. When the light is blinking on your machine, press it and watch your machine go to work! My favorite part!

STEP 9. Remove the earrings from the mat

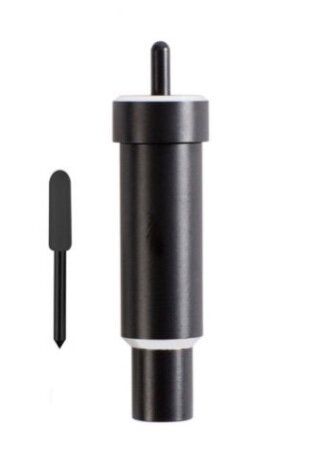
STEP 10. Using a leather punch, make a hole in your earring for a fish hook. I use the smallest setting for earrings.

STEP 11. Add fish hooks to your earrings.
Open the end of the fish hook with jewelry pliers. Slide the hook into the earring and close the hook. Repeat with the other earring.
WHAT MATERIAL DO YOU USE TO MAKE EARRINGS WITH A Cricut MAKER?
For beginners, I suggest you use Cricut brand faux, genuine, and metallic leather. Each material is easy to cut for a quick and beautiful leather earring. Your machine will have a setting for this specific material and guide you step by step to get a clean cut!
Related:
DIY Open teardrop leather earrings in Camel and Black.
Bright and Bold Teardrop Leather Earrings
Cork fabric sheets are another great option for earrings. Cork fabric is thin enough to use a deep-cut blade with so you can use this material on a Cricut Maker or Cricut Explore Air 2.
I purchase all my cork fabric sheets from Etsy. Here are some examples of cork I love!
You can also use genuine leather to make earrings. Be sure to test a small sample before you cut. Depending on the thickness of the leather you choose, you may need to use a knife blade.
I have some tips on cutting genuine leather HERE.
HOW CAN I GET MY EARRINGS TO HANG STRAIGHT?
I will be honest, there is some debate in jewelry crafting on how to get your earrings to hang straight when you wear the earrings. All I can tell you is what works for me!
When your earring doesn’t hang straight, it will twist and expose the backside of your earring. This can be a problem. Oftentimes, the backside of the earring is NOT the same as the front!
You can make the backside of your DIY Leather earring look finished. It will take a few extra steps and is a personal preference.
Personally, my earrings hang straight when I attach my earring fish hook directly onto my earring. I have found that when I use a jump ring between my earring and my hook, the earring twists. This is my personal preference.
The other thing to be aware of is to make sure your earring hook is inserted from front to back in the earring. This will guide your earring to hang straight and not twist.
Like most things, this takes some patience and a lot of trial and error!
RELATED:
What to put on the back of faux leather earrings
HOW DO I KEEP LEATHER EARRINGS FROM CURLING?
If you live in a humid climate, you probably have some curled leather earrings. I know I do!
Two things I’ve noticed about leather earrings that curl:
Leather earrings that curl are typically making of thinner material. My leather earrings made of faux leather and thin cork fabric tend to curl the most. Thicker earrings don’t curl much at all.
A leather earring that curls aren't the end of the world! Simply place your earring under a big heavy book or any other heavy object you have lying around. They will flatten out!
HOW DO I GET FREE Cricut TEMPLATES?
You can get access to free Cricut templates in my Free Resource Library. You can get access to the library here.
We have blog posts for each free template complete with a DIY jewelry tutorial:
DIY Natural Cork Teardrop Earrings
DIY Circle with Cutout Leather Earrings
DIY Arch Leather Earrings with a post
DIY Round Leopard Earrings with a Gold Post
DIY White Teardrop Cork Earrings

Whatever it is, the way you tell your story online can make all the difference.