
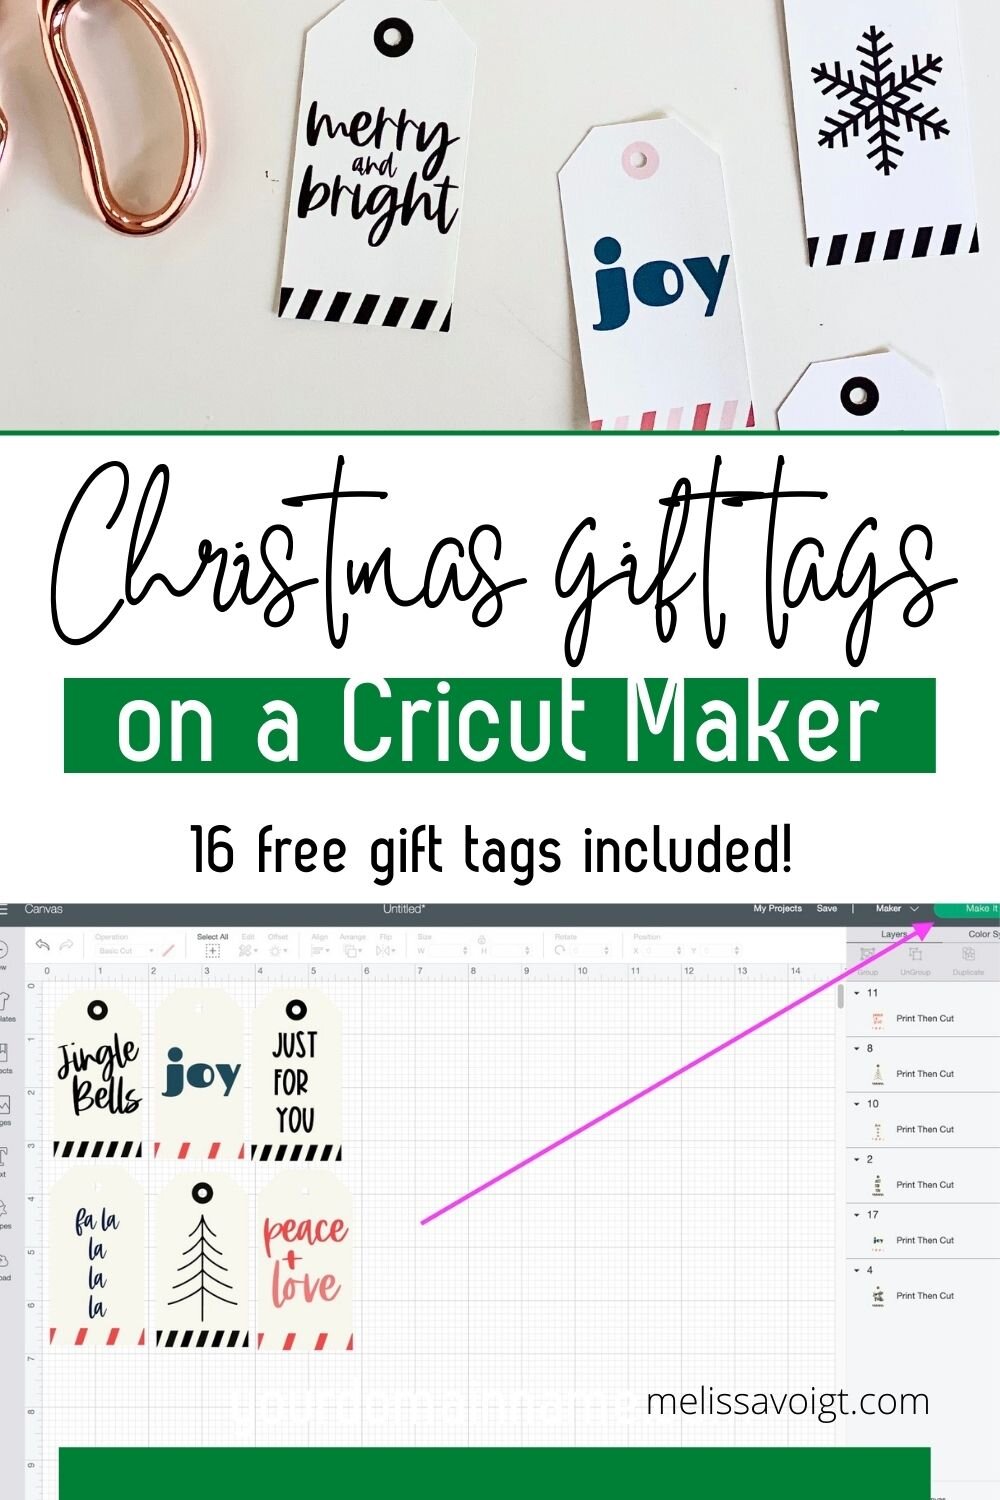
HOW TO MAKE CHRISTMAS GIFT TAG SVG?
Download the FREE Christmas tag SVG/ PNG file inside our free resource Library.
Upload the PNG file to Cricut Design Space.
Decide what tags you want to use and arrange them inside Cricut Design Space making sure your project is within 6.75” W x 9.25” L.
Print the tags on an inkjet printer using 90lb cardstock.
Cut the tags on a Cricut Maker.
The post contains affiliate links which means if you make a purchase from a link in this post, I may receive a commission at no extra cost to you. HOW DO YOU MAKE GIFT TAGS ON A CRICUT?
You can make gift tags with a Cricut in 3 ways:
Design your own gift tag cut file right inside Cricut Desing Space. Find out how I do that HERE.
Use Gift Tag images from Cricut Access. If you’re a Cricut Access member, the files are included in your membership. If you are not a member, you can pay per image.
Upload our FREE gift tag SVG/PNG cut file and cut. You can cut blank gift tags or use the Print then Cut feature to make custom colorful gift tags. You can find a blank gift tag file in THIS POST. You can get access to our free Christmas tags at the end of this post!
HOW DO I MAKE A GIFT TAG WITHIN THE CRICUT DESIGN SPACE?
You can design a basic gift tag right inside Cricut Design Space using the basic shapes tool. Shapes are free inside Cricut Design Space and you don’t need much graphic design experience to designs your own gift tags!
By using free shapes and the weld tool, you will be amazing at what you can create! It is so fun, it is almost addicting! Be warned.
I walk you through how to use basic shapes to make customer gift tags in this post - HOW TO MAKE GIFT TAGS. Use this as a starting point to create your own tags!
Related: How to make gift tags SVG files in Cricut Design Space

HOW DO YOU MAKE PRINT THEN CUT CHRISTMAS GIFT TAGS?
Print then cut is a feature with Cricut Design Space that allows you to send images to your home computer to print. Then, you load this printed image on a cutting mat and a Cricut Maker will cut these images for you.
Forget your scissors! The Cricut Maker or Cricut Explore Air 2 will do it for you.
You need to have an inkjet printer for this feature to work.
The maximum size of your print then cut image is 6.75” W x 9.25” H. We will talk more about this later in the post, but is super important to note this for later!
If you are uploading an image or file to make tags using print then cut, be sure to upload a PNG file.
This post covers making gift tags with print then cut in depth. Scroll down for detailed instructions!
RELATED:
How to use Print then Cut within Cricut Design Space
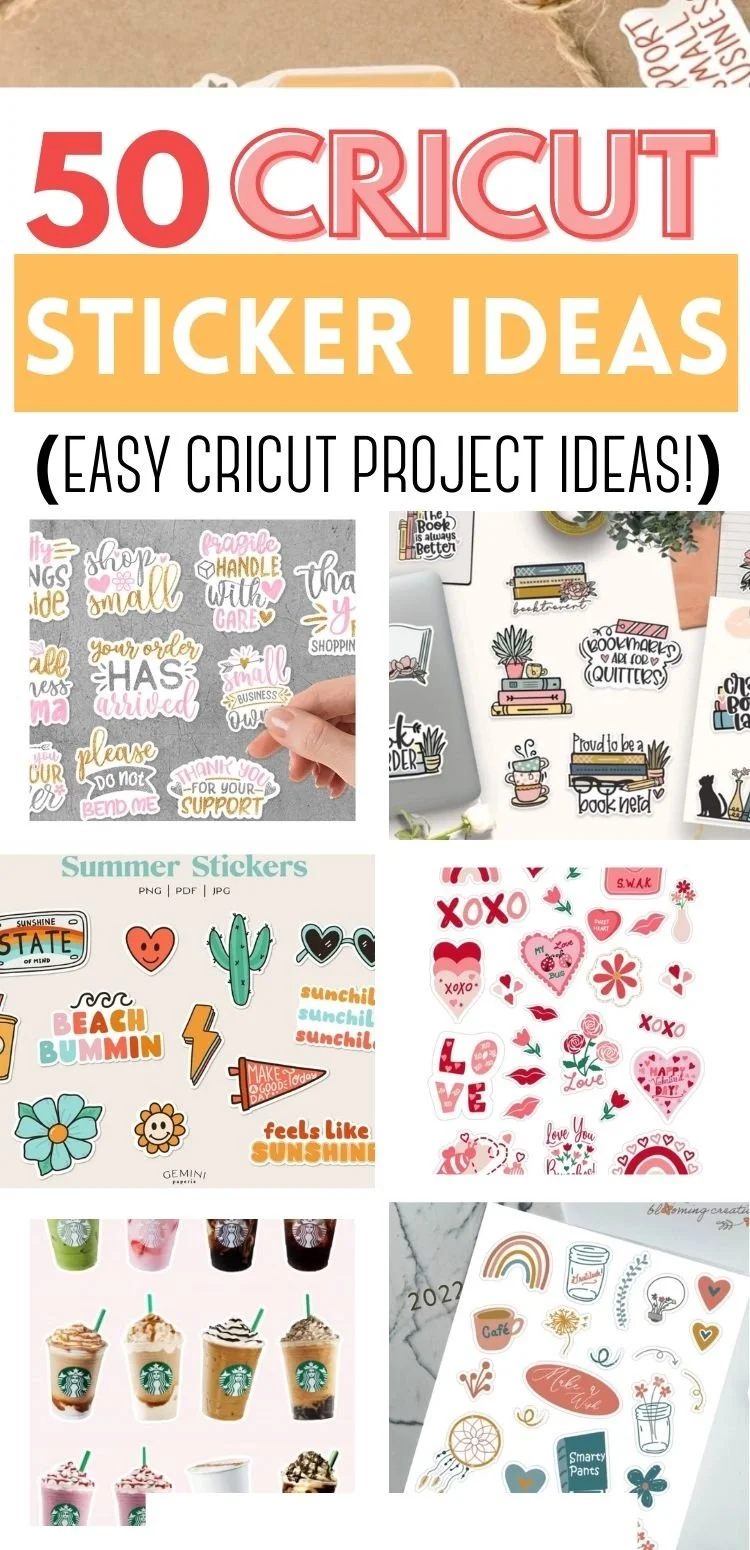
How to make DIY stickers with a Cricut Maker
10 of the Best Cricut Sticker Paper for a Cricut Maker
WHAT SUPPLIES DO I NEED TO MAKE CHRISTMAS GIFT TAGS WITH A CRICUT?
BLUE MAT OR LIGHT GRIP CUTTING MAT
CHRISTMAS GIFT TAG FILE - You can get access to the file at the end of this post.
STEP 1. DOWNLOAD FILE
You can download my free Christmas gift tags SVG/PNG file for free in my resource library. See details at the bottom of this post.
Once you have downloaded the file, you can upload the PNG file into Cricut Design Space.
Each gift tag cut file is separate.
This Christmas gift tag is a zip file. It contains 16 individual SVG cut files and 16 individual PNG cut files.
You can upload one at a time for your individual project needs.
This cut file is for personal use only.
Related:
How to upload an image to Cricut Design Space
Cricut Design Space for Beginners
The BEST things to make and sell with a Cricut Maker
10 Things I wish I knew about a Cricut Maker before I bought one
STEP 2. UPLOAD FILE TO CRICUT DESIGN SPACE

Open a new project in Cricut Design Space.
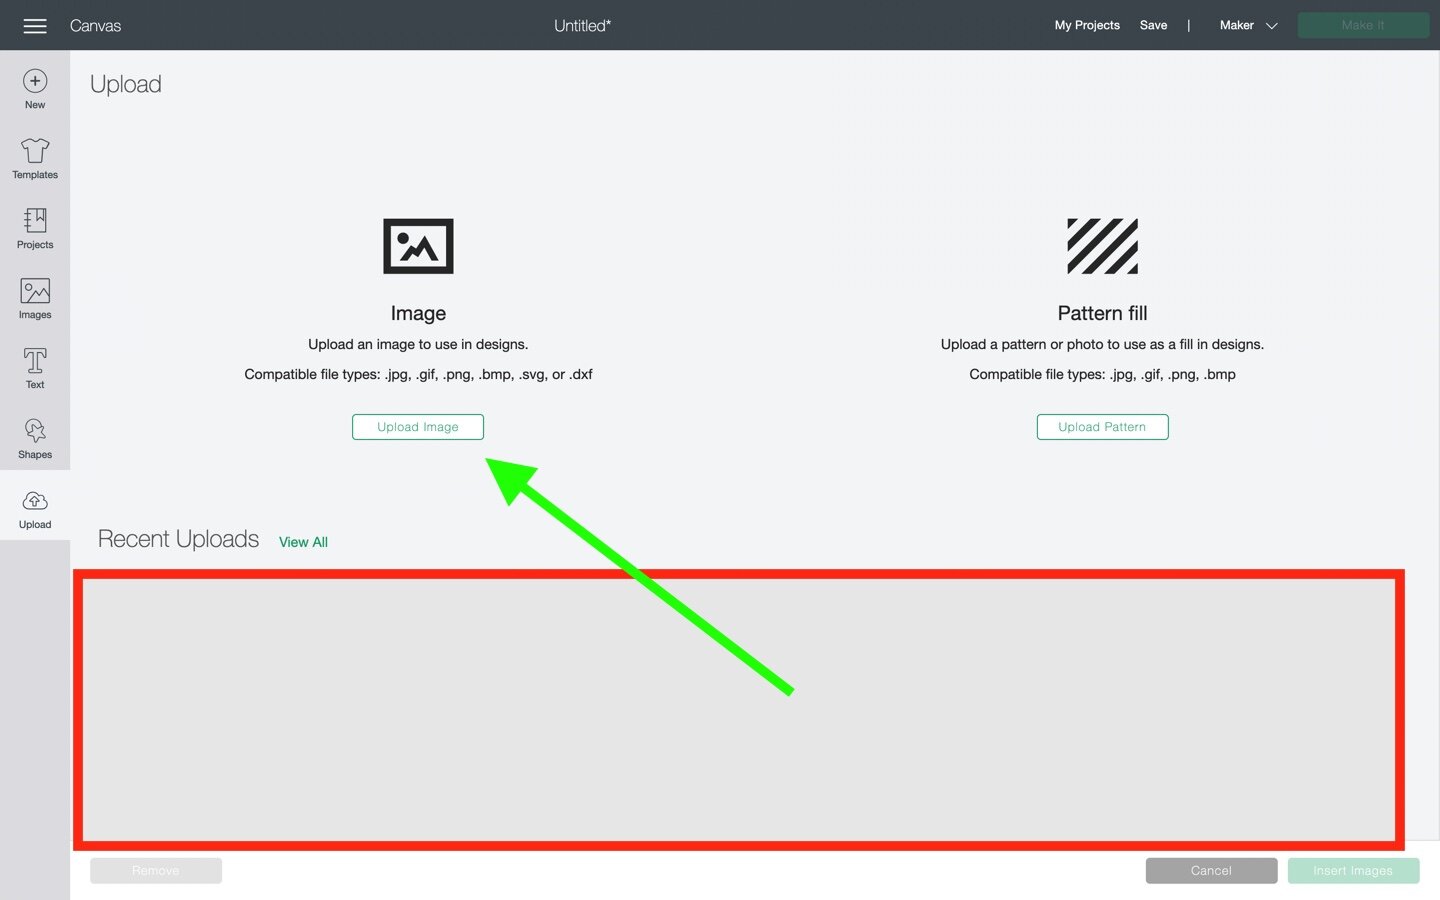
Click UPLOAD. Choose the PNG file you downloaded to your computer.

Be sure to select the Print Then Cut Image on the next screen. You can also name this image if you’d like. When you have completed this, click on UPLOAD.

The blue and white checks around the image indicate that the image has a transparent background. For this gift tag, make sure the inside of the tag where the ribbon will go is also transparent.
You can make any part of the image transparent or not by clicking anywhere on the image.

When using the Print then Cut feature, I select complex for the image type.
Click on CONTINUE.

The gift tag you selected will upload to your project. Size the gift tag to your preferences.
You can size any image inside Cricut Design Space using the Size feature in the toolbar.

Continue to add as many gift tags as you wish. Remember to keep within the minimum of 6 .75” W x 9.25” H for Print then Cut!
If your project should get outside the limits a little warning triangle will appear in the layers panel next to the words “Print Then Cut”.

STEP 3. PRINT TAGS
First, load cardstock into your inkjet printer. I use a 90LB white cardstock.

When you are ready to make Christmas gift tags, select the green MAKE IT button.

The next screen you see should look like this. Double-check and make sure your image is Print then Cut.
Click on the green CONTINUE button.

Finally, click on SEND TO PRINTER.
Your inkjet printer will print your images onto cardstock.
STEP 4. PREPARE YOUR MACHINE
Make sure your Cricut Maker is ready to make gift tags by doing the following:
Load a fine point blade into the Cricut Maker.
Place your printed cardstock on a blue or light grip mat.
Be sure to line up your cardstock as close as you can in the upper left-hand corner.
Use a roller and gently press it over the cardstock to make sure the cardstock fully adheres to the blue mat.
STEP 5. CUT THE CHRISTMAS GIFT TAGS
Load your mat into your machine.
The C on your machine will blink when it is ready to cut. Press that C when is blinking to start cutting.
Your machine will scan your project first to “see” the black lines of your paper. Then, the machine will cut.
STEP 6. REMOVE TAGS AND ENJOY
Press the flashing arrow when the machine is done cutting to unload the mat from your machine.
Check the cuts of your gift tags.
Is this what you wanted? I like to double-check all the cuts before I remove a project from my mat.
Gently remove the Christmas gift tags from the mat.
If you are having trouble with the gift tags curling, try to remove the gift tags from your mat by turning the mat over. Remove the mat from the gift tags rather than removing the gift tags from the mat.
If you don’t turn the mat over and remove the gift tags first, the gift tags may roll. By turning the mat over and removing the mat first, the gift tags should stay flat.
Enjoy those amazing gift tags!
Get access to my FREE
Christmas Gift TAG SVG
by subscribing below!
WANT TO REMEMBER THIS PROJECT FOR LATER?
SAVE THIS PROJECT TO PINTEREST!


Learn about the Cricut Scoring Wheel versus the Cricut Stylus. What is the Cricut Scoring combo wheel? How do you know when to use the Cricut scoring wheel? Can you use the Cricut scoring wheel with a Cricut Explore Air? And so much more!