
HOW TO MAKE DIY HEART LEATHER EARRINGS
Download the heart SVG cut file. You can get access to this file for FREE inside my resource library.
Upload the heart SVG/PNG cut file into Cricut Design Space.
Cut Cricut Genuine Leather with a Cricut Maker.
Punch a hole in both earrings with a leather punch.
Add a jump ring and earring post to the leather heart.
I love making earrings with my Cricut Maker. I think it is the one thing people don’t often think about making with a Cricut, but it is my favorite way to use my machine.
In fact, I have a library full of leather earring templates you can use for FREE. Check it out HERE.
But leather earrings are not the only kind of earrings you can make with a Cricut Maker or Cricut Explore Air 2. l also use cork sheets to make DIY earrings. I love to buy cork sheets from Etsy to make earrings.
Let’s dive into detail on how to make these heart leather earrings!
RELATED
Open Teardrop Leather Earrings
Bright and Bold Teardrop Leather Earring
This post contains affiliate links which means if you click on a link and purchase something from my site, I may receive a small commission. Thank you for supporting this website. 
List of Materials for DIY Leather Earrings
Cricut Maker Or Cricut Explore Air 2. For this tutorial, I used my Cricut Maker.
Cricut Strong Grip Mat This is the best deal I’ve seen on mats.
Cricut Cutting Blade - I used a deep point blade.
Earring Posts with connector for jump rings

HOW TO MAKE HEART LEATHER EARRINGS
STEP 1 Download the HEART cut file
Download my SVG/PNG file to your computer. You can use my free HEART leather earring template inside my free resource library.
You can gain access to the password at the end of this post.
STEP 2 Upload the cut file into Cricut Design Space
Upload my template into Cricut Design Space. If you need help uploading an image into Cricut Design Space, I have tips HERE.
Once the template is uploaded, your screen should look like this.

Next, you’ll need to size your earrings. Click on the circle shape.
In the upper middle of your screen, you’ll see “size”. This is where you can make your earring bigger or smaller.
I have the size recommendations below. Of course, do what works for you.
If you are nervous about sizing earrings, make a template on paper with a fine point bade and a green mat first. I test template earring sizes all the time before I cut the leather to make sure it is what I want.
Small: 2” Long
Medium: 2.5” Long
Large: 3.0” Long

Next, you’ll want to duplicate your earrings so you have 2 earrings to cut. To do this, you simply click anywhere on your earring. On the upper right side of your screen, click “Duplicate.”
You now have 2 earrings! Your design should look like the picture above.
STEP 3 Cut the Leather Sheets

Insert a deep-cut blade into your Cricut Maker or Cricut Explore Air.
For this tutorial, I used Cricut Genuine Leather in black.
Follow the Cricut instructions when cutting Cricut genuine leather. Be sure to lay the leather onto the mat FACE DOWN.
Cutting leather on your Cricut CAN be tricky so make sure your mat is sticky and your blade is sharp!
Related:
How to cut Cricut Genuine Leather on a Cricut
How to cut real leather without ruining your mat (with THIS little trick)!

Tip: Use a brayer to make sure the sheets adhere to your mat.
Set your Cricut Maker machine to the Cricut Genuine Leather when prompted for the materials.
Also, be sure to move the star wheels on the roller bar all the way to the right before you load your mat into the machine. If you keep the star wheels in place they could damage your leather or at the least leave an indention all the way down your leather sheet as the machine cuts.
Video: How to Move Star Wheels on your Cricut Maker and Cricut Explore Air 2.

When your machine is finished cutting, remove the mat from your machine and check the cuts.

Remove each earring from the mat!
You are ready to finish your earrings!

STEP 4 Punch a hole into both earrings
My SVG/ PNG designs do not include pre-cut holes.
I prefer to cut holes in my earrings using my leather punch. It gives me more control over where I want the hole to be.
Also, I just love my leather punch!
I use the smallest setting in my leather punch to make holes in my earrings.

You can use a ruler to make sure you punch your hole in the exact center. You could also fold your earring in half to find the center
For this earring, you want the heart to tip to the side when you wear them.
Think of it this way, you want the center of the heart to touch your jawline.
I placed both earrings on my ear to make sure I punch the hole in the correct place.

You can see in this picture, the hole is in the center of one side of the earring.
Punch a hole in the other earring.
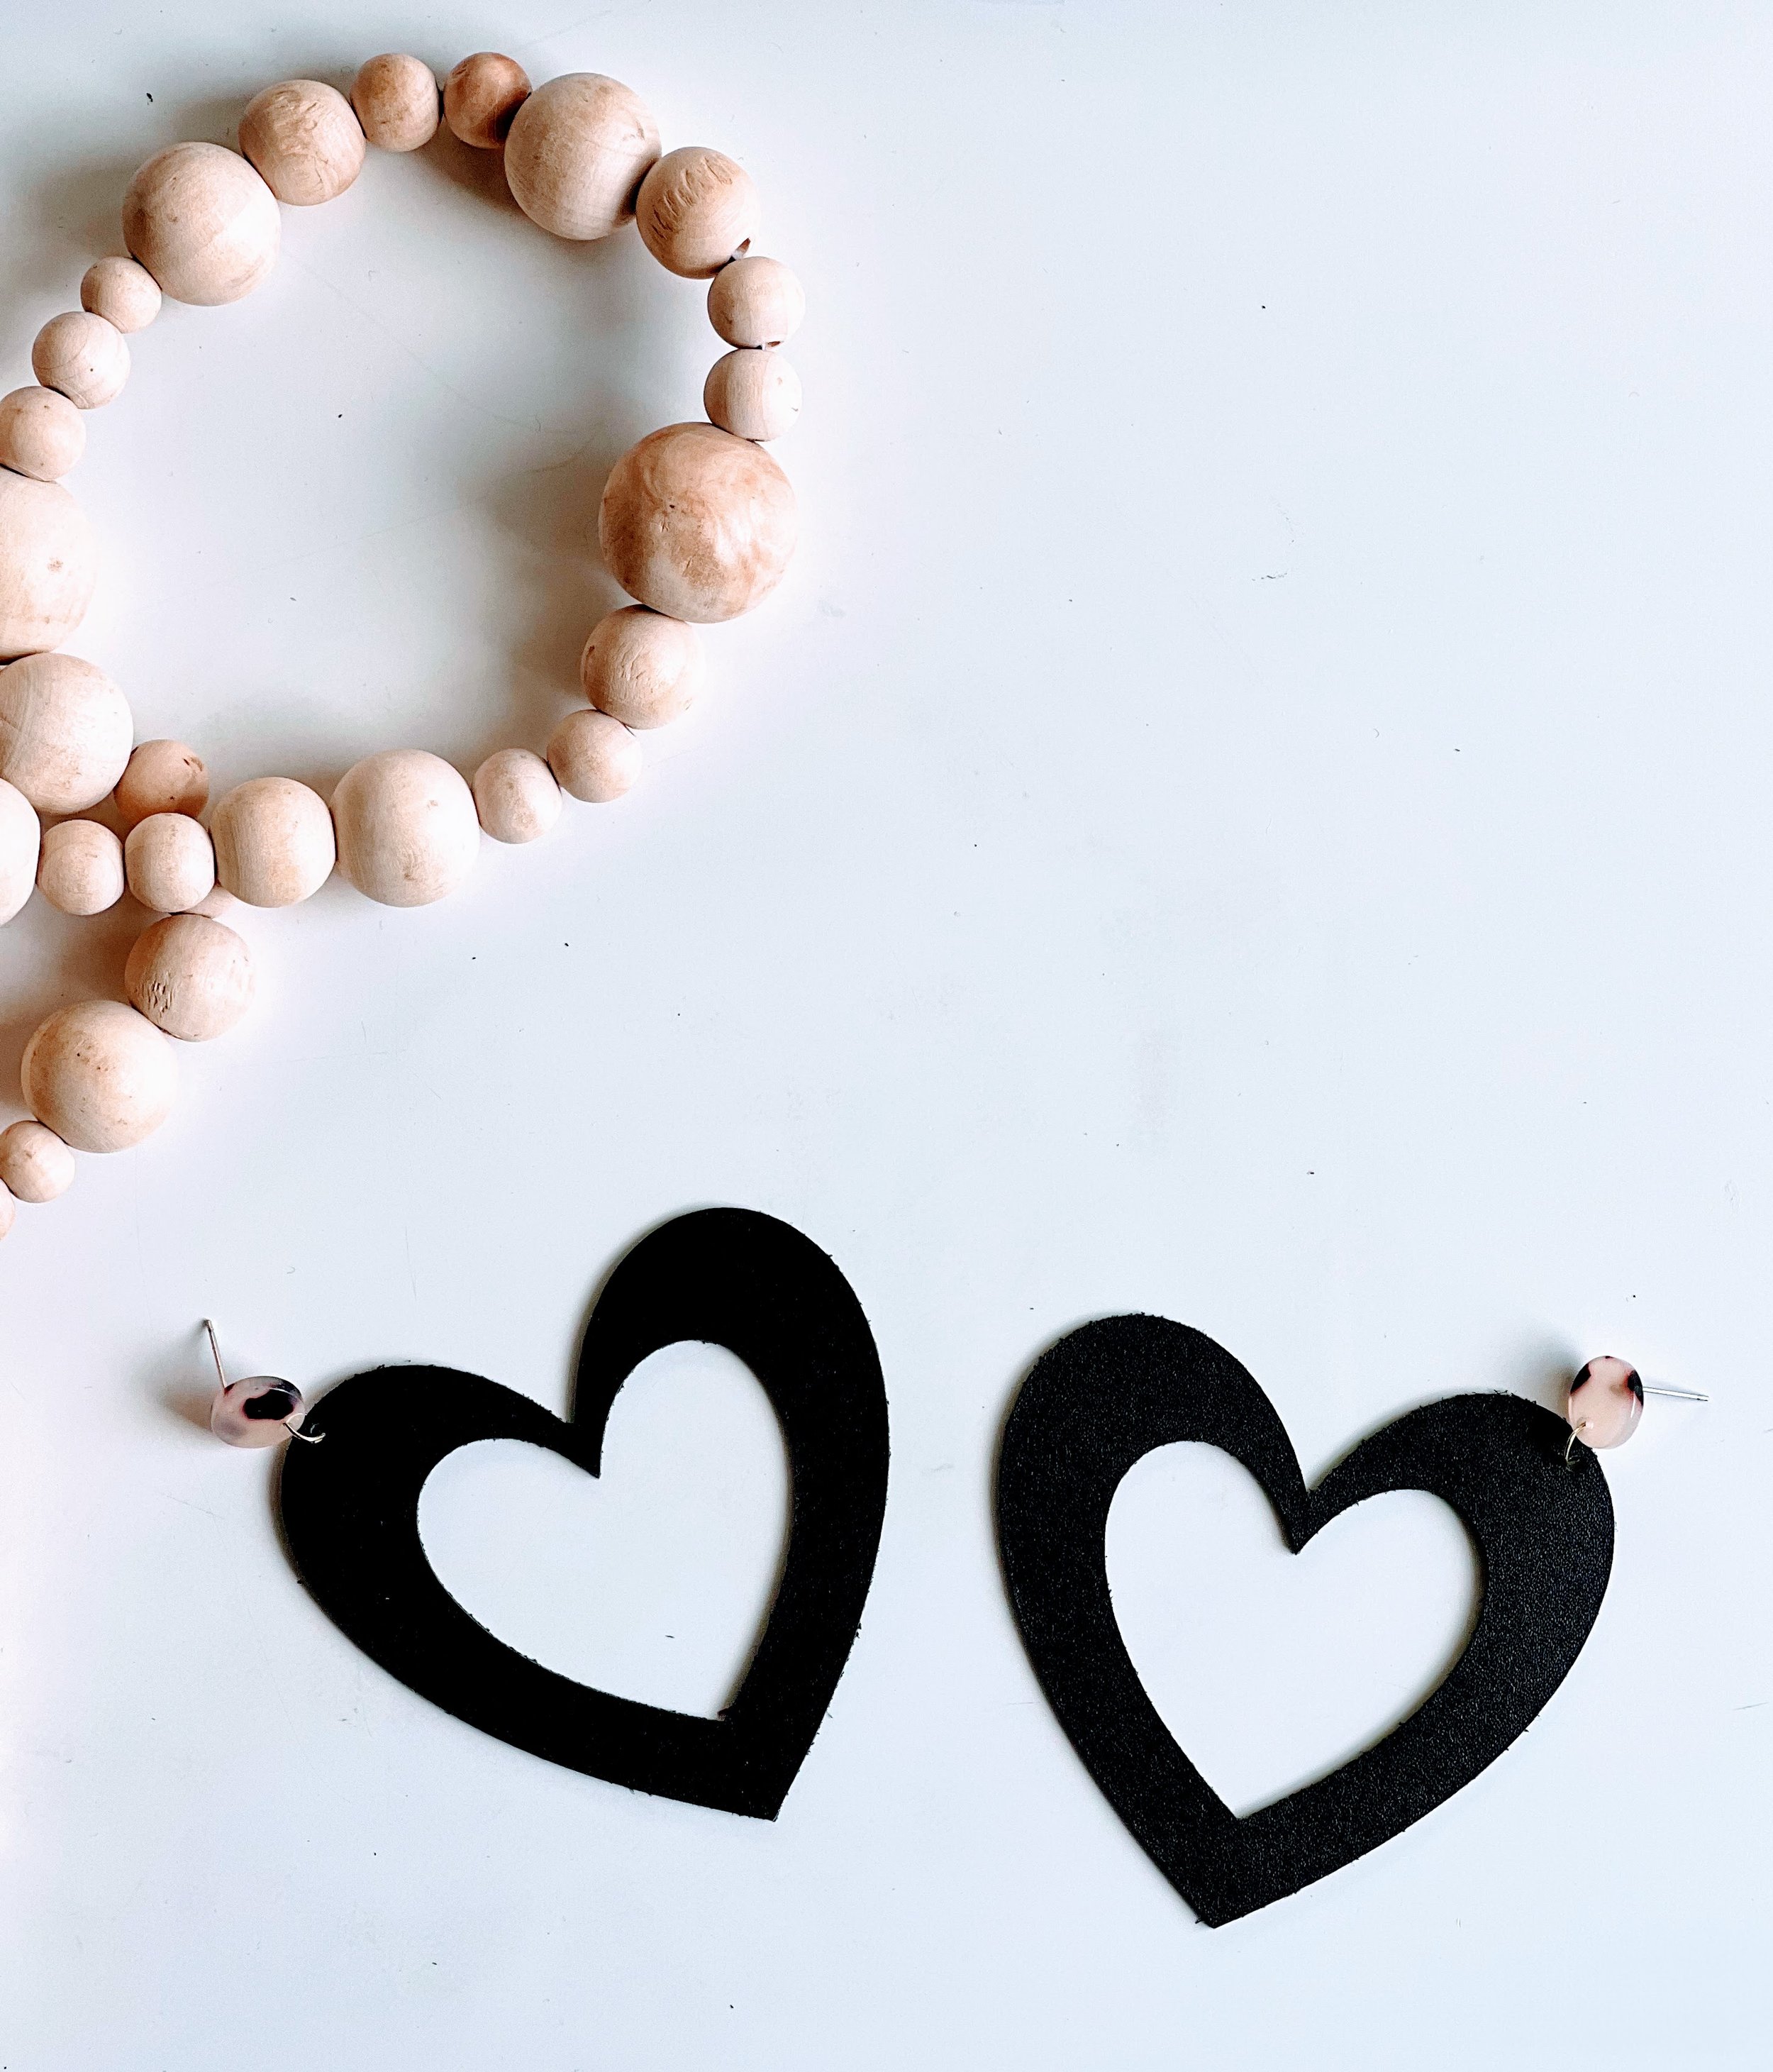
STEP 5 ATTACH THE POST AND JUMP RINGS

You are almost done!
Open up the jump rings jewelry pliers.
I prefer the flat-nosed pliers for this!
Thread your hook through your post and them through the earring so all 3 pieces are attached - post, jump ring, and leather earring.
Close the jump ring.
Be sure the ring is fully attached and the earring won’t’ slip out.
Repeat on the other earring.
GET THE HEART EARRING FILE FOR FREE!
Download the HEART earring SVG/PNG file by subscribing for free to my newsletter below and get the password to my free resource library.
WANT TO REMEMBER THIS PROJECT FOR LATER?
SAVE THIS DIY EARRING SVG CUT FILE TO PINTEREST!