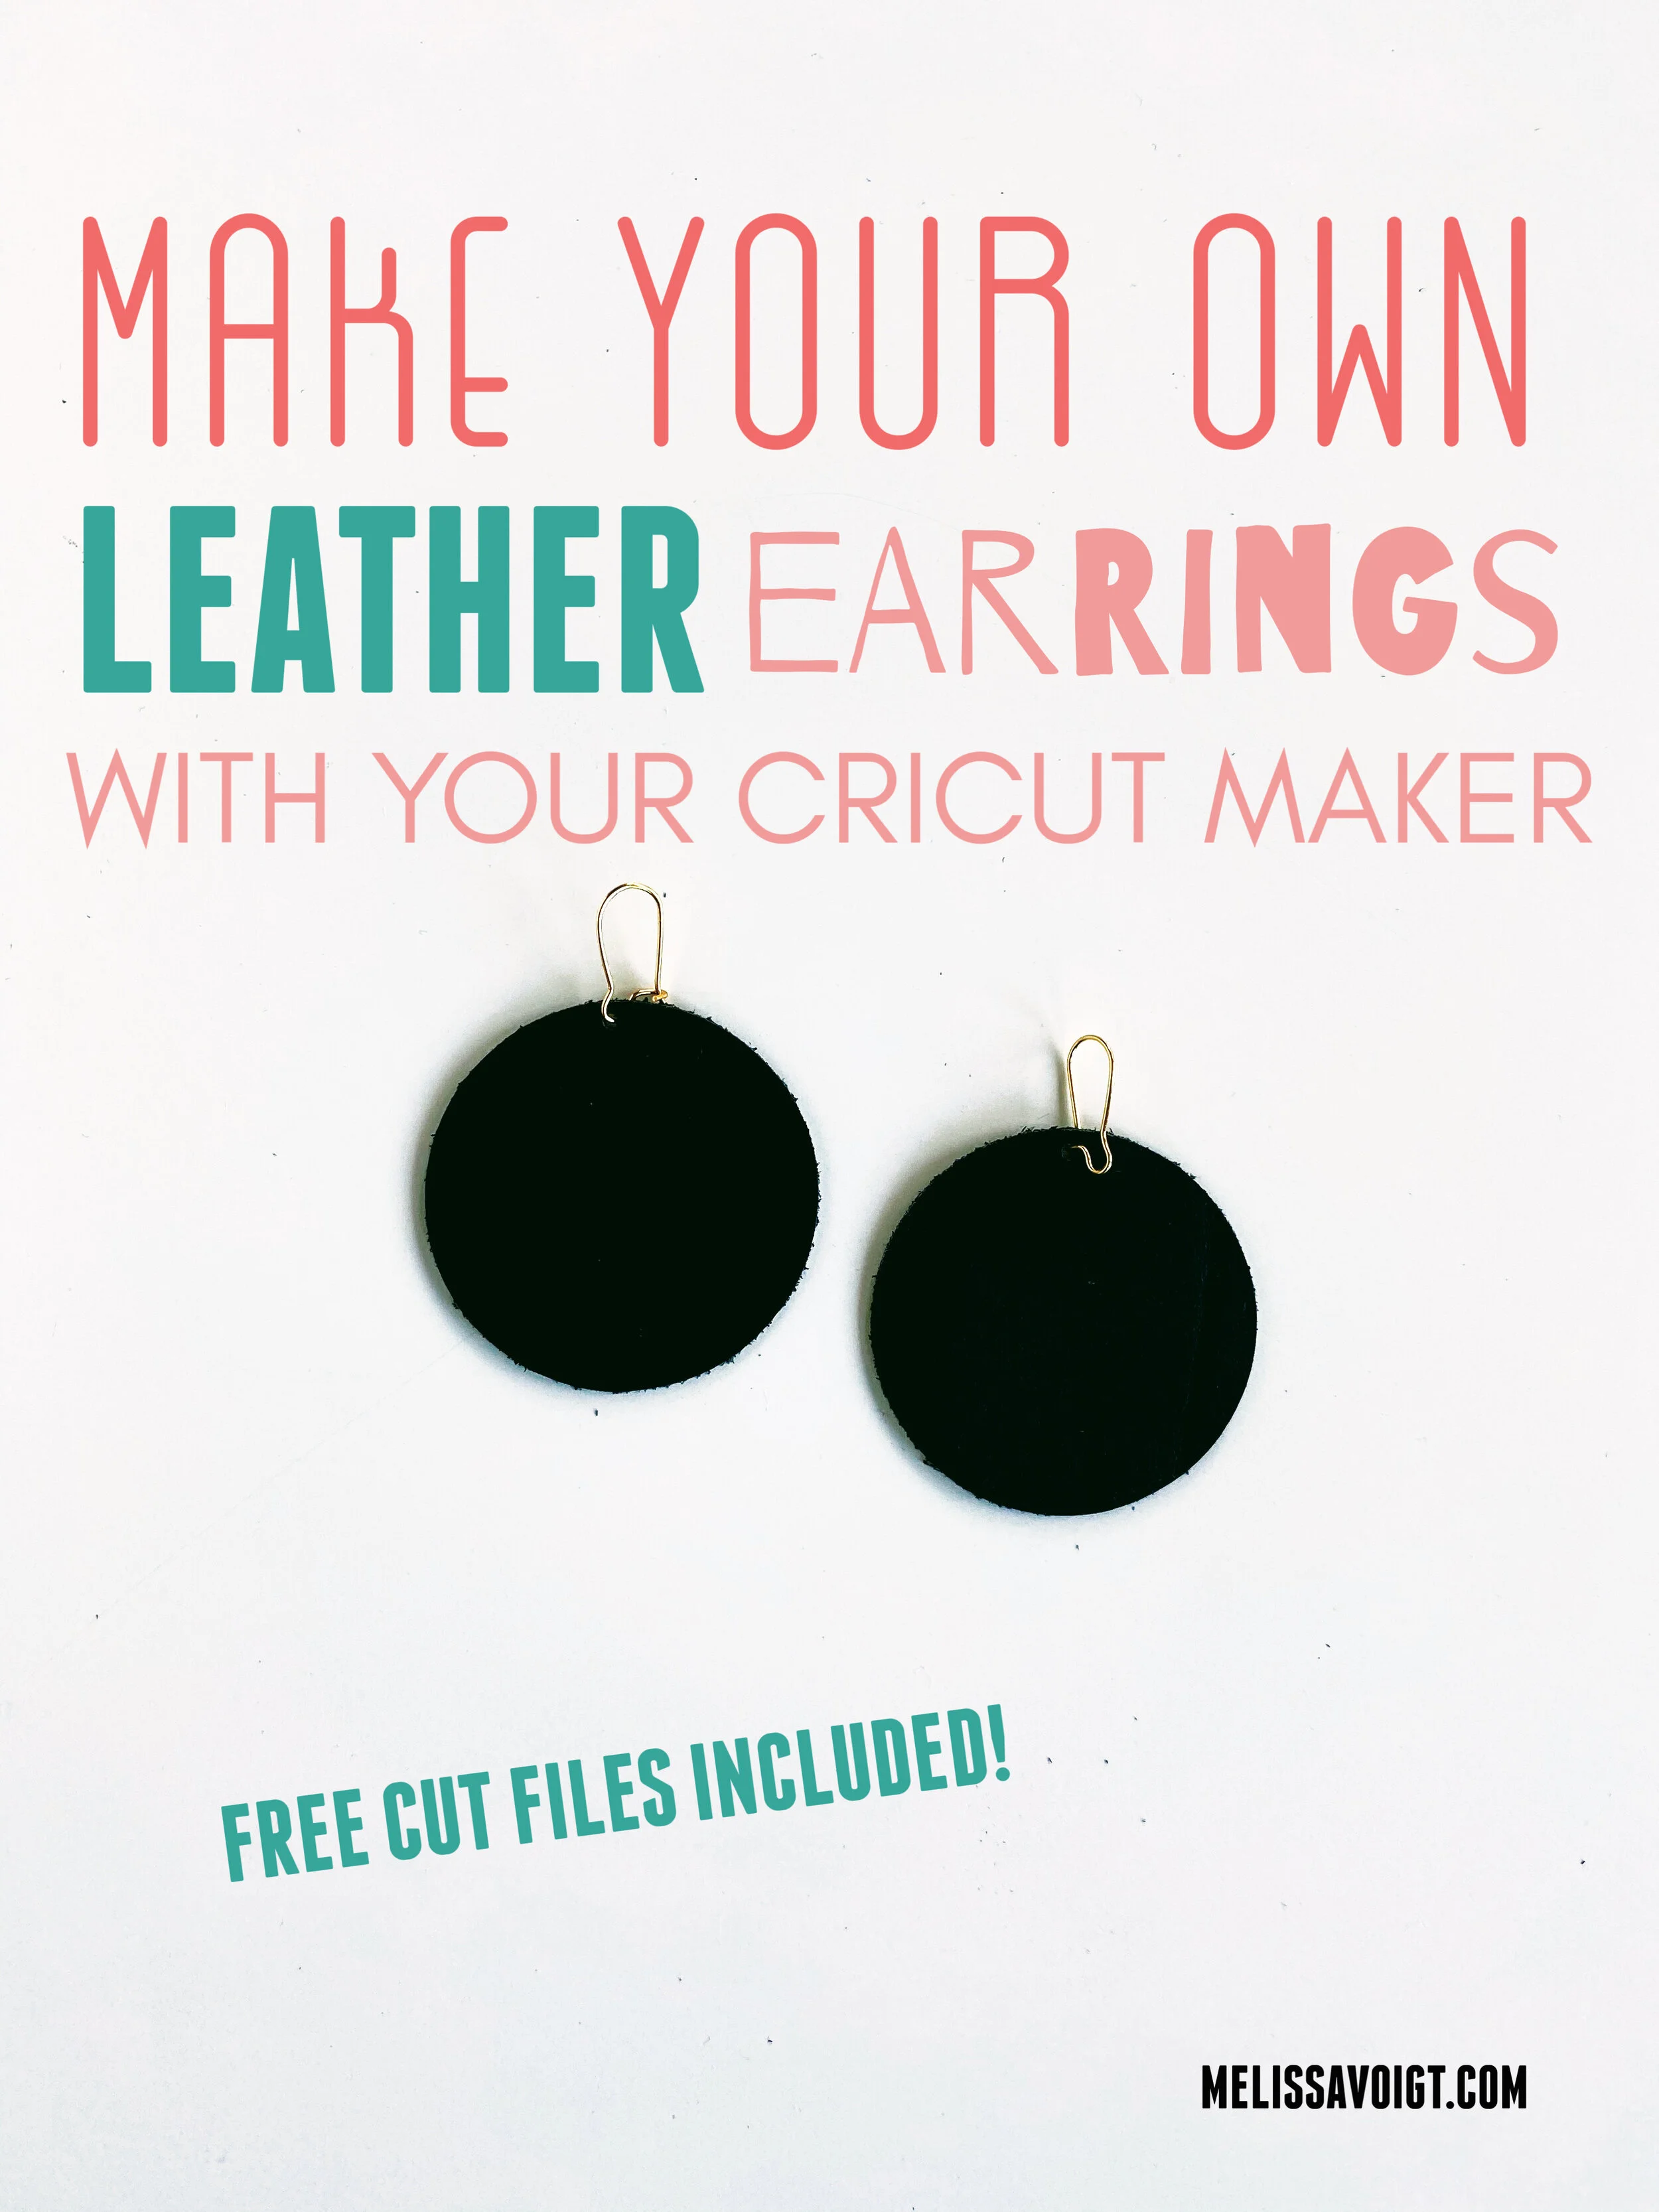
CREATE YOUR OWN DISC LEATHER EARRINGS WITH OUR FREE SVG/PNG TEMPLATE
A few months ago, I was at a school function for one of my kids and saw another mom wearing this circle leather earring with a drop earring hook. I was immediately drawn to how simple and stylish this earring was!
I have never seen anyone wear this style leather earring before. I mostly see women wearing a teardrop style of leather earrings. I knew I needed to try and make them!
The circle drop leather earring is super easy to make. if you are intimidated by making leather earrings with your Cricut Maker, this is a great beginner’s project!
I love making leather earrings with my Cricut Maker. Our most popular leather earring template is our Teardrop Cut File. We also love this Open Teardrop leather earring template. The Arch leather earring is growing in popularity all the time. And my all-time favorite leather earring to wear is our DIY Circle with a cutout leather earring.
All our leather earring templates are FREE inside our resource library. You can find out more at the bottom of this post!
LET ME SHOW YOU HOW I MAKE DIY DISC CIRCLE LEATHER EARRINGS WITH A FREE CUT FILE
This post contains affiliate links which means I receive a small commission at no extra cost to you. If you make a purchase using this link.Cricut Genuine Leather in Black
DISC SVG/ PNG Cut file. You can get access to this at the bottom of the post.

HOW TO MAKE DISC CIRCLE LEATHER EARRINGS USING MY FREE CUT FILE
STEP 1 DOWNLOAD MY SVG/PNG FILE
Download my free disc cut file from my resource library. You can get access to my library at the bottom of the post. My resource library is full of cut files you can use on your cutting machine.
STEP 2 UPLOAD AND EDIT THE CUT FILE TO CRICUT DESIGN SPACE
Upload the disc cut file into Cricut Design Space. If you have never uploaded a file into Cricut Design Space, you can check out my tutorial here.
You can upload files for FREE and cut. It is super simple. Feel free to reach out to me if you have trouble.
Once your file is uploaded, your screen should look like this.

Next, you will need to size your earrings. Click on your disc image in Cricut Design Space.
In the upper middle of your screen, you’ll see “SIZE”. This is where you can make your disc bigger or smaller. I recommend the following sizes.
2” WIDE LARGE
1.5” WIDE SMALL
Finally, you’ll want to duplicate your earrings so you have 2 earrings to cut. If you want to make multiple pairs of earrings, duplicated as many as you need! You can fill out an entire page of earrings! This earring would make fabulous gifts!
To do this simply click on your disc earring. On the upper right side of your screen click “DUPLICATE.”
You now have 2 earrings. Your design should look like this.

STEP 3 CUT YOUR LEATHER
For this tutorial, I used Genuine Cricut Leather in Black. I used a strong grip mat and a deep cut blade.
Cricut recommends you lay Cricut genuine leather face down on your strong grip mat. This keeps your mat clean and will keep your leather from bunching and slipping.
I use a brayer to make sure my leather is really stuck to the mat.
Cricut also recommends you move the star wheels on your machine all the way to the right. Be sure to move them back before you cut other materials on your machine!
Set your Cricut machine to Cricut Genuine Leather settings to make sure you get the best cut.
Cut your earrings.

STEP 4 PUNCH HOLES IN YOUR EARRINGS
My cut file designs do not include precut holes. I prefer to cut a hole in my earrings using my leather punch. Mine is old and from Hobby Lobby. I linked a similar one HERE.
I think a leather punch gives you more control over where your holes can be. Also, using a leather punch is easy! I’ve used this tool so much! It is one of my most loved crafting tools.
I use the smallest setting on my punch to make holes in all my DIY leather earrings

You can use a ruler to mark the middle of your earring OR you can wing it. Either way, line up your earring and punch a hole.

STEP 5 ATTACH EARRING HOOKS

For this earring, we used long earring hooks. They are also called “kidney ear wires". I know, it’s a strange name but it’s true. I linked to the ones I bought on Amazon here. I bought the 18mm size, but you could go longer!
For this hook, simply thread your earring into the hook and clasp it shut.
You can use some jewelry pliers if you have trouble opening your hook. You will need to open your hook wide enough to thread the earring.
Repeat with the other earring.