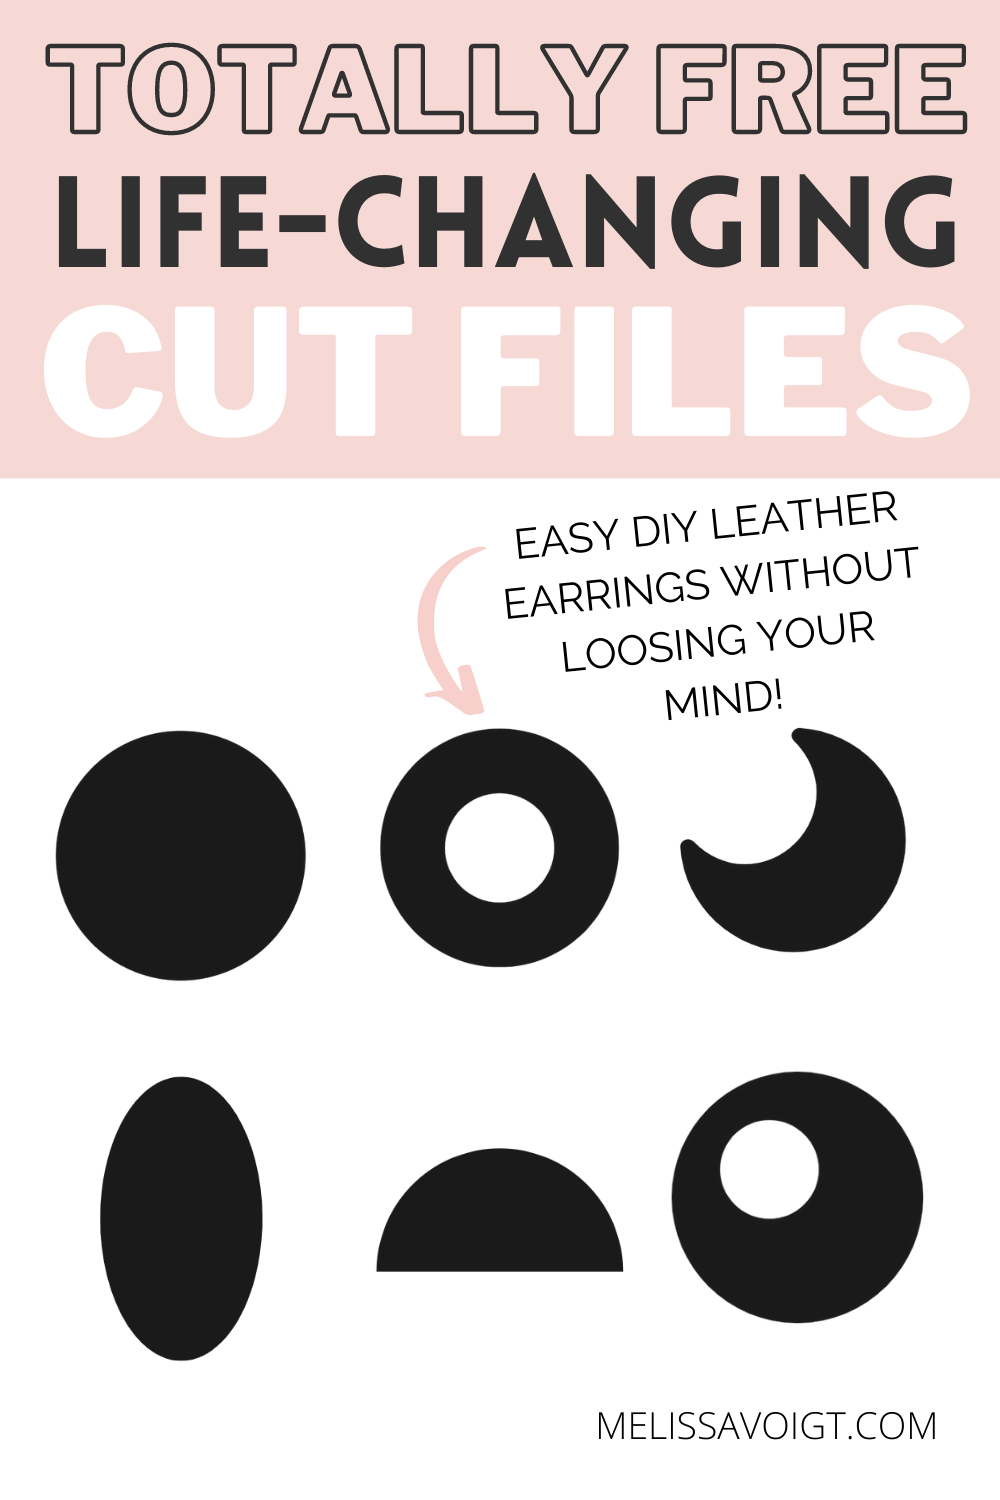

CREATE DIY LEATHER EARRING OR LEATHER EARRING CUTOUTS WITH OUR CIRCLE CUT FILE PACK
Do you make earrings with your Cricut Maker or Cricut Explore Air?
DIY leather earrings are one of my favorite things to make with my Cricut. Once you get the hang of it, it is a fun and easy craft.
Today, I wanted to give you some basic circle cut files for DIY jewelry. You could use these templates to make faux leather or genuine leather earrings. In fact, you could use these templates for MORE than DIY jewelry!
Leather cutouts are a growing business on Etsy and a great way to make some extra cash with your Cricut Maker. You don’t have to sell finished earrings. Shop owners are looking for leather earring cutouts they can use to make their own creations! Check out Etsy shops that sell cutouts here.
We collected 6 basic circle shapes and you can grab them all for free inside my resource library (more on that below).
Also, don’t miss my teardrop cut file pack HERE.
Be sure the check out all our other DIY Leather Earring cut files and tutorials here.
This post contains affiliate links at no extra cost to you which means if you click on a link and purchase I may receive a small commission from your purchase. Thank you for supporting this website.HOW TO MAKE DIY LEATHER EARRINGS WITH A CRICUT MAKER
I have many tutorials on how to create leather earrings with your Cricut Maker and Cricut Explore Air. I wrote about the main differences between both machines here. I own both machines.
I got the Cricut Explore Air first. I created all my first leather earrings with my Air. I upgraded to a Maker last year because I wanted to start experimenting with the knife blade. I love both machines but it is important to know the difference between each machine before you buy it!
You can make leather earrings with a Cricut Explore Air but you need to make sure you pay attention to the thickness of the leather you use. Thicker leathers will need to be cut with a Maker and a knife blade. Thinner leather and most faux leather can be cut with a deep cut blade. Always do a test FIRST if you are unsure.
If you are a beginner, I would start with Cricut genuine, metallic, or faux leather. Each machine is programmed to cut this medium beautifully. It is the easiest thing to use when you first start out.
Related:
How to cut Cricut Genuine Leather
How to cut Cricut Faux Leather
How to cut Cricut Metallic Leather
When you are ready to challenge yourself, you can cut genuine leather on your Cricut Maker. Check out how I cut leather here using transfer tape. Tip: Always test a small patch before you cut your earrings to make sure you have everything set up correctly!
I love buying sheets of leather from this Etsy shop! Shipping is fast and she has some of the best color options!
With each type of leather, you need to make sure you use to correct blade. I talk all about Cricut blades here. Remember the knife blade is only compatible with the Cricut Maker. This is really important to know. If you want to cut thicker genuine leather, you’ll need the knife blade. Cricut genuine later and metallic leather can be cut with a deep point blade!
You will also need the correct mat based on what material you choose. I use the green mat for most faux leather and the purple mat for all other leathers. I love this 3 pack. It is the best deal I’ve found on mats.
Finally, to finish your leather earrings you’ll need a leather punch (more on that later), fish hook earrings, and some jewelry pliers. I purchase most of my supplies from Amazon. I have found some of the best deals there and with Prime shipping, you can’t beat it! A big pack of earring hooks will last you forever! It is a great deal.

CIRCLE LEATHER EARRING TEMPLATES
If you have never uploaded an image or SVG/PNG into Cricut Design Space, you can read all about how to do that HERE. Once your image is inside Cricut Design Space, you can adjust the sizing to whatever you want.
My Circuit Design Space for beginners will walk you through how to use the sizing options inside Cricut Design Space.
There are no rules when it comes to sizing earrings. Often times I create samples of my earrings with an old piece of card stock, a green mat, and a fine point blade. This way, I don’t waste any leather trying to size my earrings.
That being said, as a rule of thumb, large size drop earrings are typically 3”. This would include multiple shapes. So if you have a small half circle jump ringed to a larger circle the total height of both would be 3”. Medium-sized drop earrings are typically around 2.5” in length. Smaller sized drop earrings are typically 2.0” in length.
This cut file pack has 6 different circle cut files. Each file comes separately and a zipped file. You can use this pack to make so many different types of earrings!
To give you a head start, I came up with 8 different earrings you could make. Of course, you could make more but if are stuck with how to use this pack of files, start with what I have below.
Note: you will need to upload each individual shape into Cricut Design Space and size as you desire to make each earring.
Let me show you what you could make with this pack!

For earring one and two, you will need some jump rings to connect the small circle to your moon shape. I love to use gold jump rings.
Each earring uses the circle shape and the moon shape.
I would size the small circle to about 1/2” wide. For the half-moon, I would size this anywhere from 2” to 3” wide.
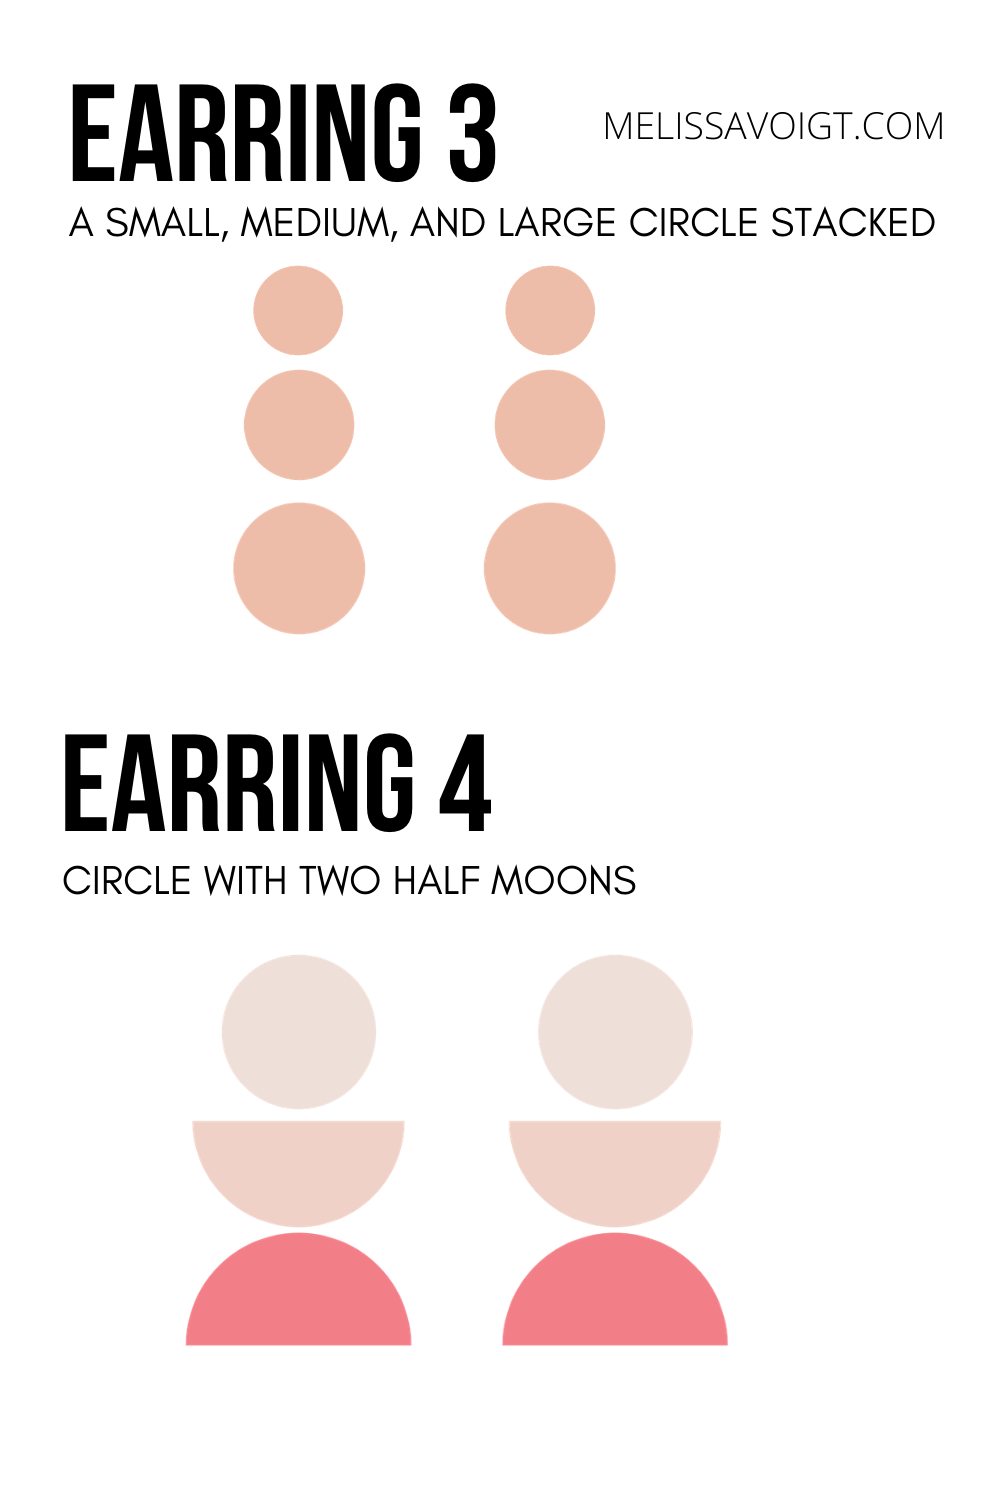
You will need to attach both earrings with jump rings and a leather punch. You will also need the circle and the half circle shape to make earrings 3 and 4.
For earring 3, start the smaller circle at 1/2” and work your way up. The middle circle could be 0.75” and the last circle 1”. If you are unsure, cut the circles on paper with your Cricut Maker first to adjust sizing as needed.
For earring four, start with a 1/2” circle again and adjust as needed. The half-circle can be sized anywhere from 1” to 1.5”.

For both earrings 5 and 6, I would start with making the smaller half circle at 1/2”. I would size the big circle anywhere from 2” to 2.5”.
Again, attach with a gold jump ring.
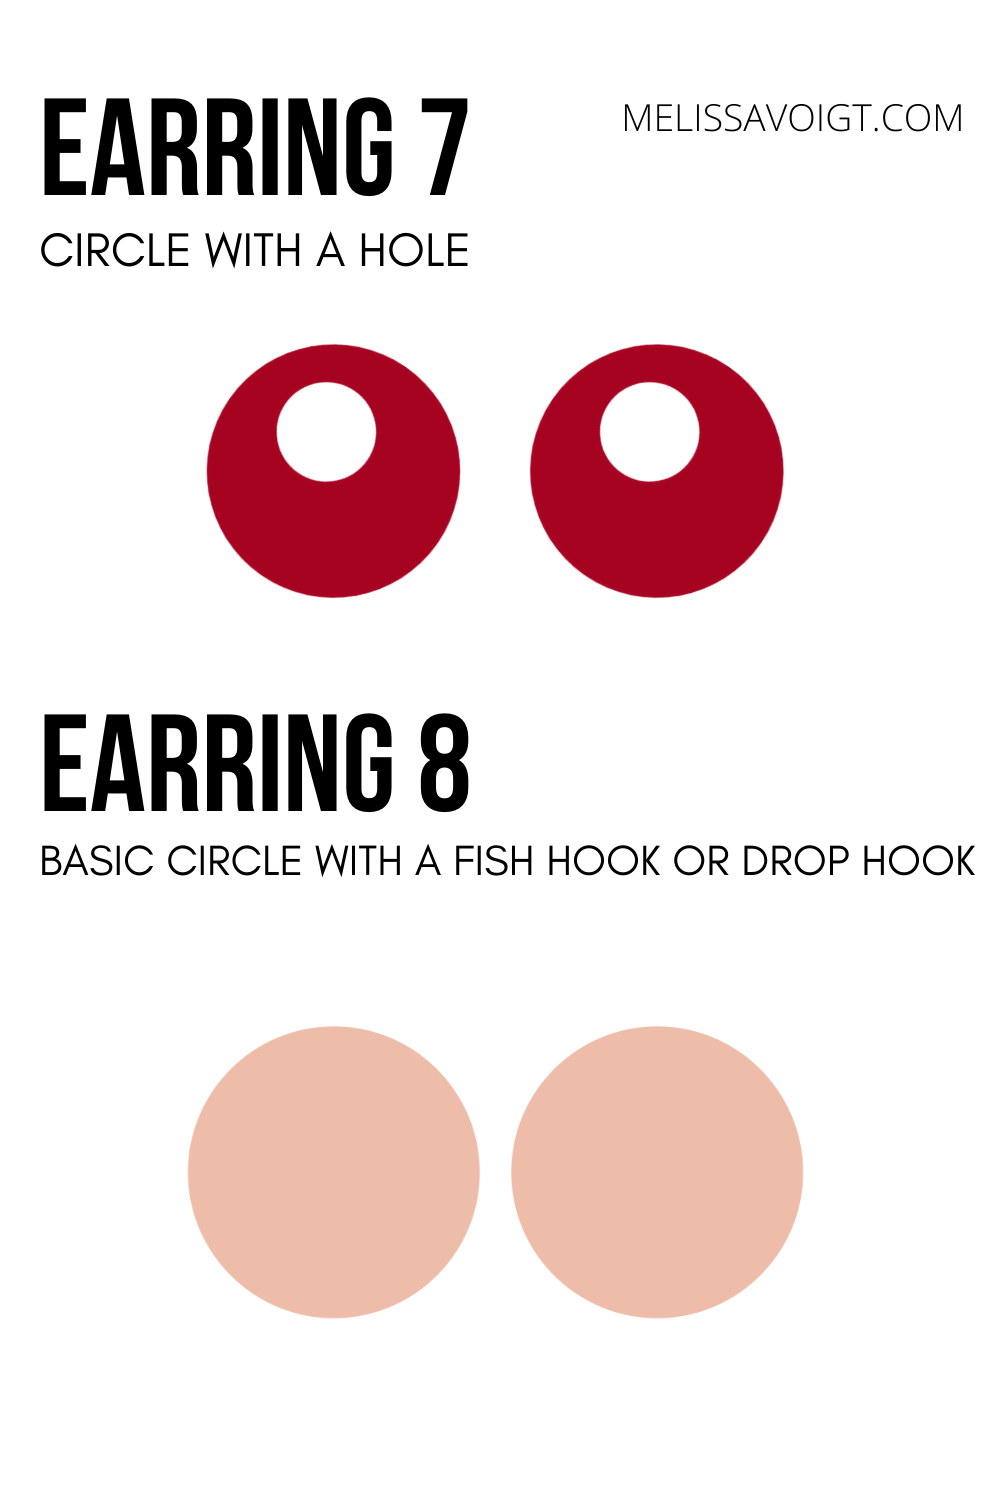
For earring 7 and 8 I would size this way:
SMALL - 2” LONG
MEDIUM - 2.5” LONG
LARGE - 3” LONG
You could probably come up with more than 8 earrings ideas! The options are endless. Play around with this pack and let me know what you create!!

HOW TO MAKE A HOLE IN YOUR LEATHER EARRING CUTOUTS
I prefer to make holes in my leather earrings using a leather hole punch. I think it gives you more freedom to place the holes exactly where you want. My leather punch is one of my favorite crafting tools!
You can measure the middle of your earring for a precise punch OR you can eyeball it. I find with most circle shapes, it is hard to mess it up! Play around with it until you figure out what works for you.
To attach your earring to your leather cutout, I use a simple fish hook. The jewelry pliers set will help you attach your fish hook to your earring. I like to use both the flat and rounded pliers for this step. Grab both! You’ll be glad you did. Simply open the fish hook, thread through your earring, and close. Be sure your hook is firmly attached to your earring.