

THIS POST MAY CONTAIN AFFILIATE LINKSHow to Easily Paint Trim White
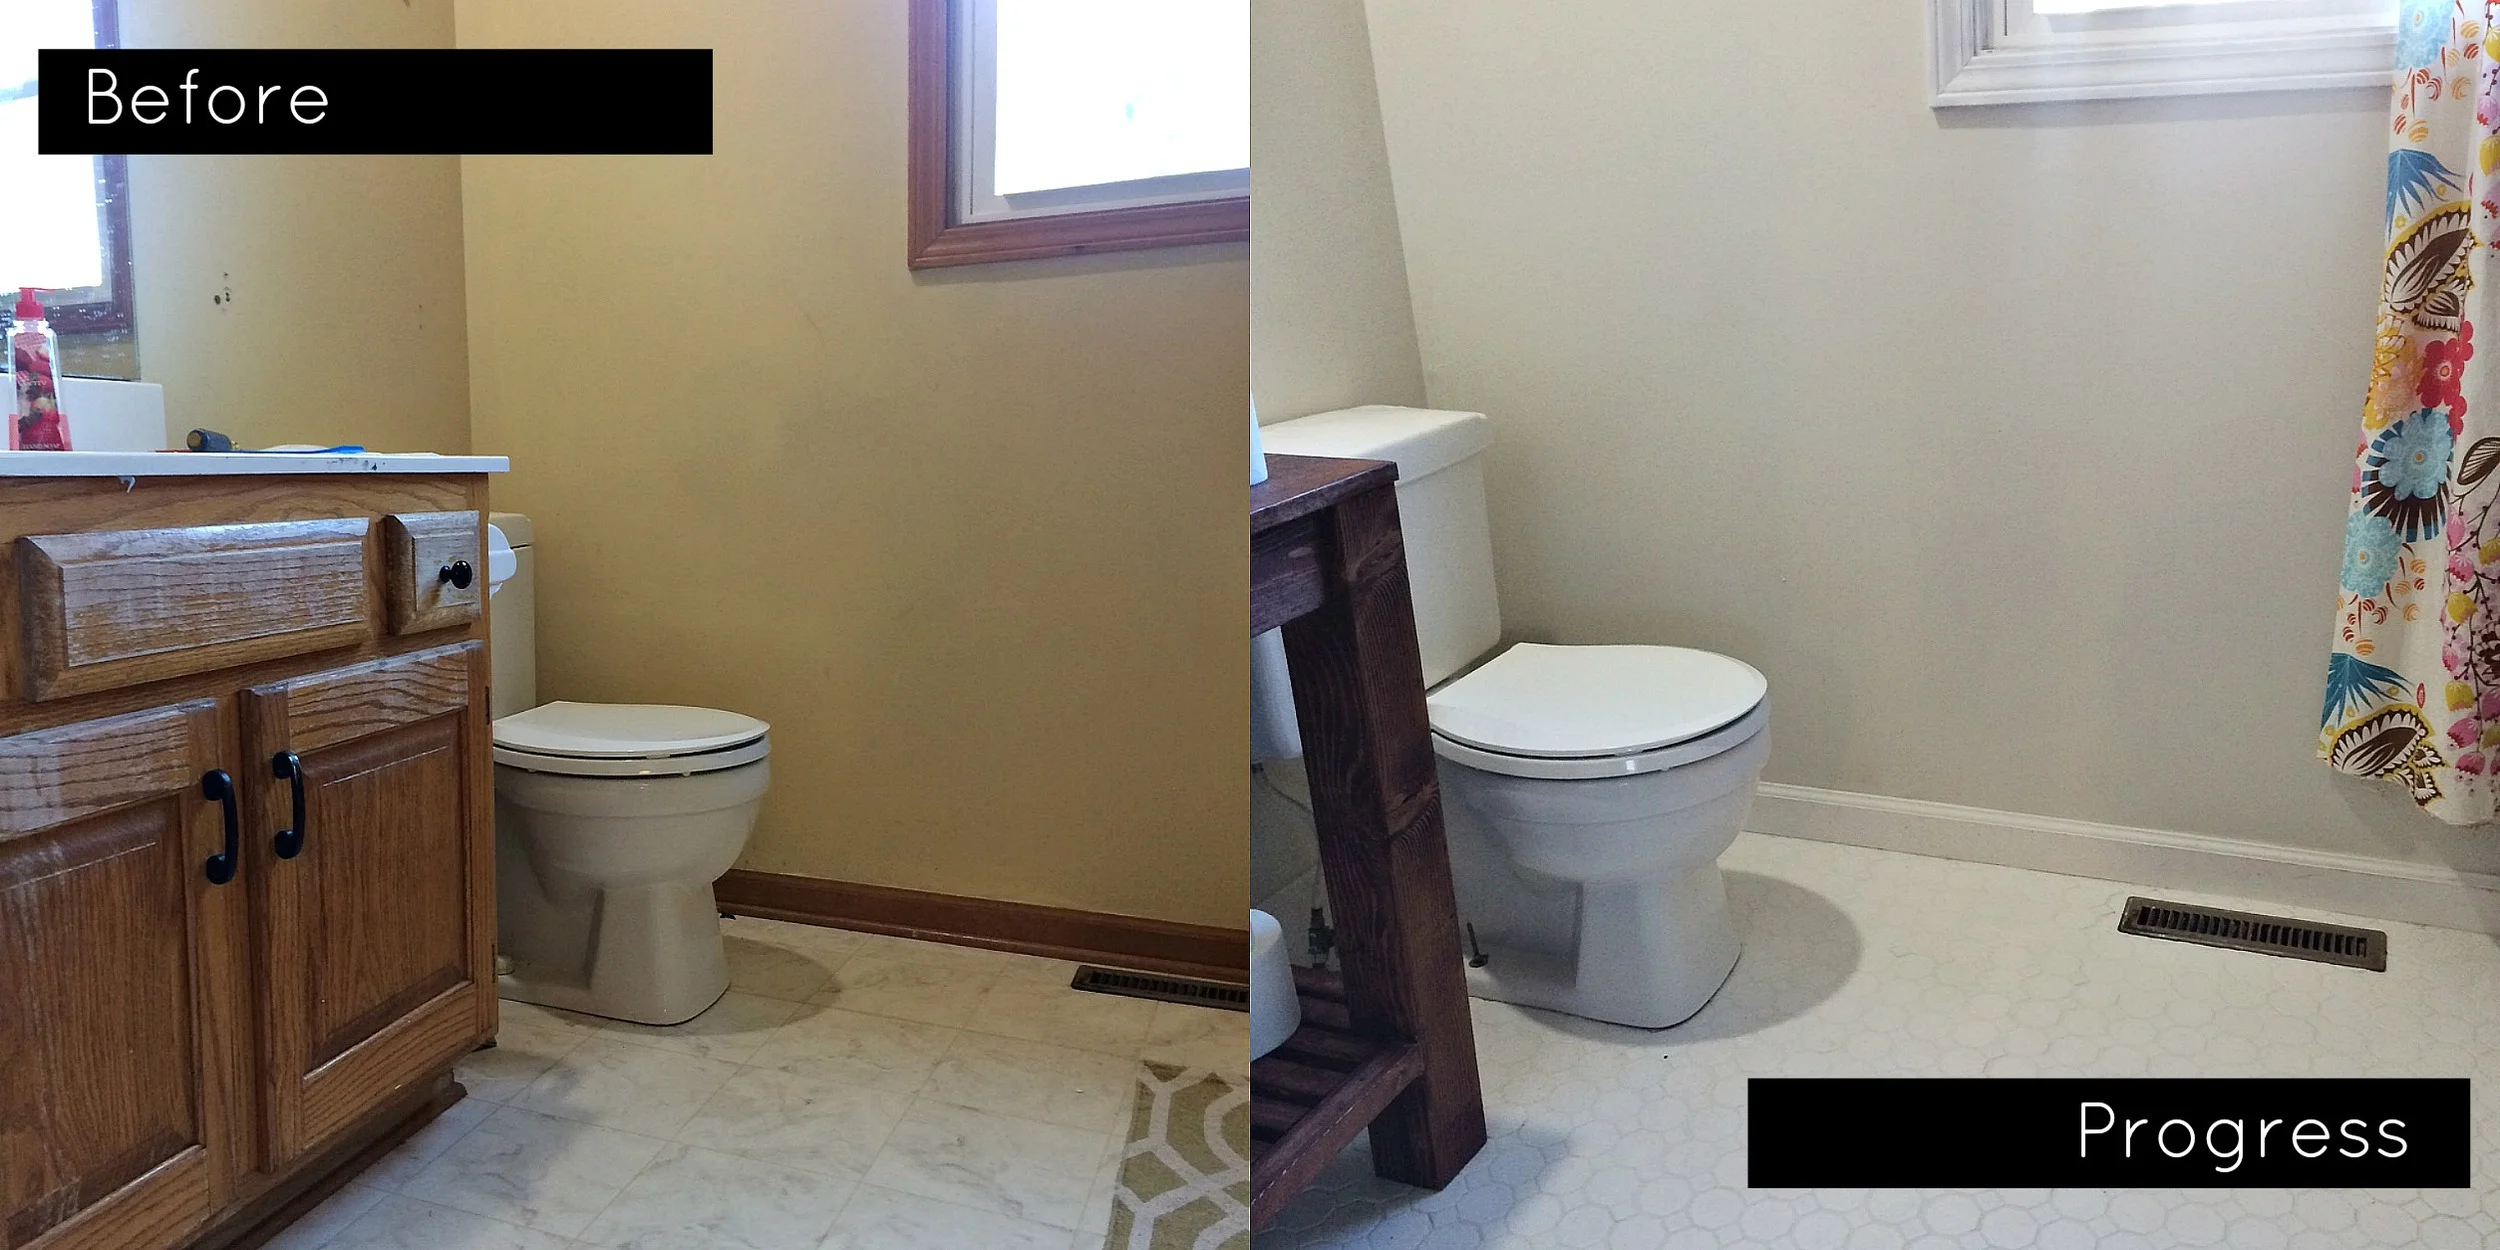
We bought a house about 12 years ago that was built in the early 90's. It came complete with orange wood trim, popcorn ceiling, and carpet in the master bath?!?!
I wish somebody would explain to me why carpet in a bathroom was ever "A THING".
Slowly over the last decade. we have brought this home into the 21st century. It has been blood, sweat, and a WAY too many Youtube videos, but we have done most of the work ourselves. We have scraped popcorn, painted every wall, and installed new flooring.
The most labor intensive thing I’ve done is paint every piece of trim white. Crisp, clean, white trim does wonders to update a space! To date, I have painted 3 floors of orange wood trim white.
Should I paint my trim white?
Starting any home improvement project is scary at first. You don’t want to waste time or money. Sometimes I worry about what improvements will actually be a good investment or a total waste of time!
Not to mention, we are self taught DIY’ers. Everything we know about home improvement, we’ve learned from a google search bar and tons of trial and error! But this is how we learn, from just trying and being will to fail.
So if you are on the fence about painting trim, I”m here to tell you to DO IT! I have learned A LOT along the way. It was exhausting and my back still hurts just thinking about it but the result is worth it! I’m so glad we did this ourselves. It is a great DIY for any experience!
White trim is a great way to update your home. It adds value and gives your home a clean, updated look. Yes, you will have to make decisions about doors and window trim but don’t panic! I’ve got ideas for that too!

How to paint wood trim white
It took us 4 coats to get the job done: 2 coats primer and 2 coats paint. We recommend you get the following:
White Paint! We use any off the shelf white paint in semi-glass from our local home improvement store.
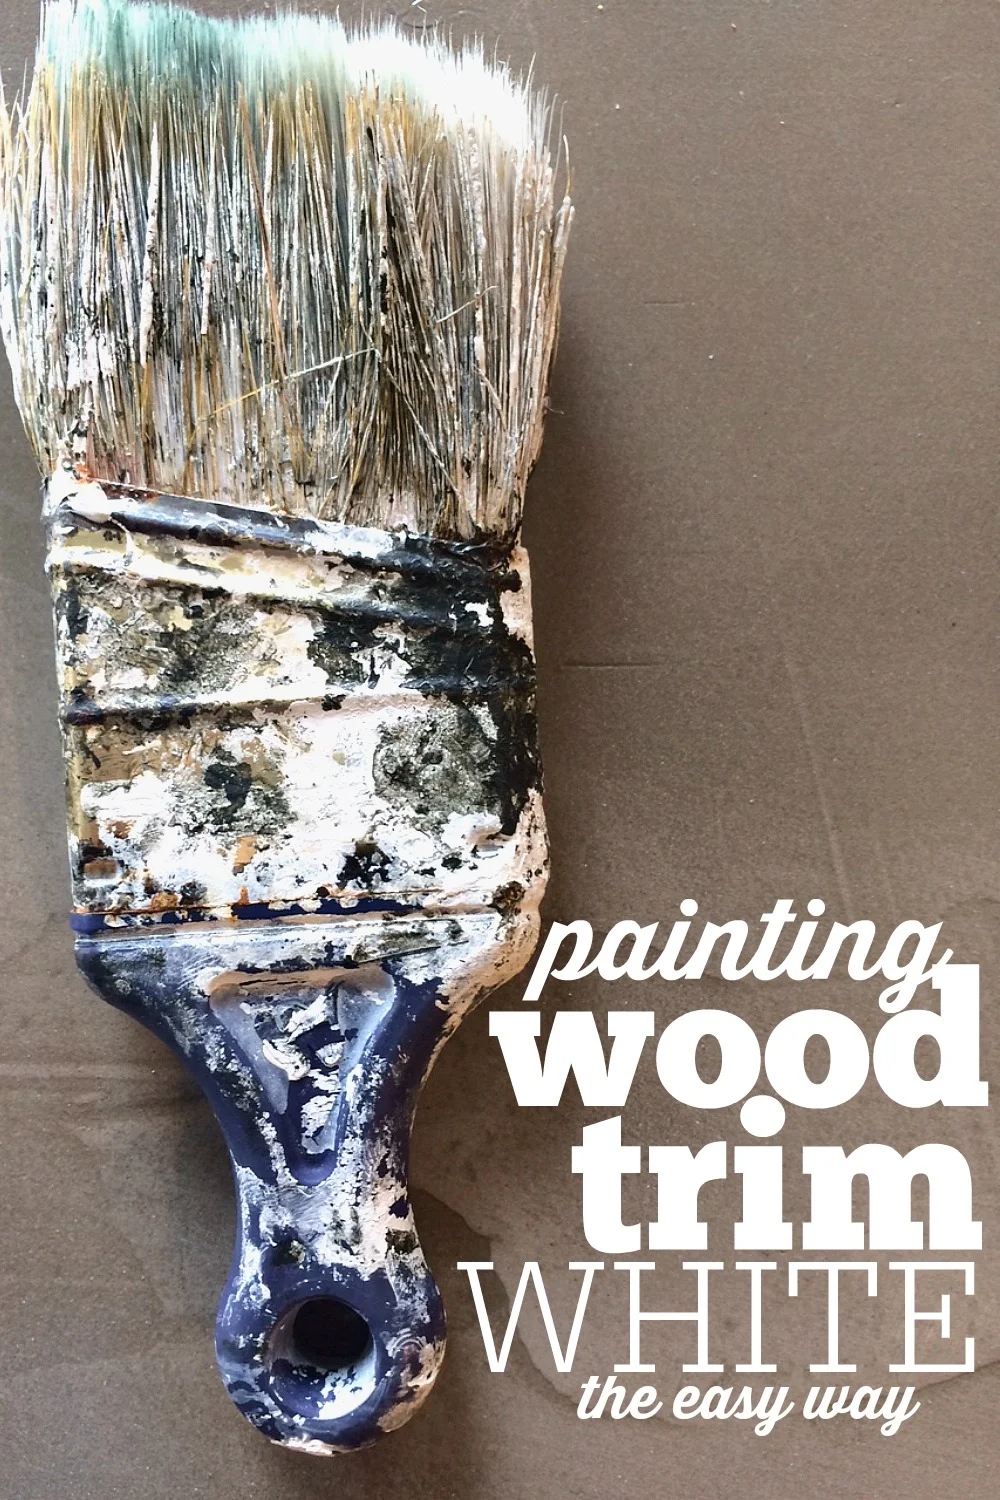
This job is all about the supplies you use. Don't skimp on supplies just to save a few bucks. It will make this job 10 times easier if you use good supplies. I promise.
First step is to make sure your trim is clean. Using a rag and soapy water, wipe down all your trim and let it air dry. Use your vacuum to gather dust if necessary. Trim is dirtier than you think. This will give your primer a good clean surface to stick too.
We love Zinsser primer. It covers well and paint sticks to it. We used the water based version. We LOVE wooster shortcut brush. Don't paint trim without one! It really helps you get paint in all the right places and give your trim a smooth finish.
Using your Wooster brush, paint 2 coats of primer on your trim. Follow the instructions on the can for dry and re-coating time. We found that 2 coats of primer really covered the wood trim best. Our trim had more orange undertones than dark undertones. You may need more or less depending on the stain of your trim.
Depending on how old your home is, your trim may have started to separate from the wall. If this is the case, use white caulking to seal the trim up against the wall and create a seamless look. Don't be tempted to skip this step! It really does make your trim look amazing.
Pick up an inexpensive tube of white caulking. If you don’t already have one, you’ll need a caulking gun. This finishes your trim and gives it a professional look!
Tip: After you apply caulking, use warm water and a old dish cloth to smooth any bubbles or imperfections in your caulking!
Paint 2 coats of white paint. We use off- the shelf white paint in a satin or semi-gloss finish. We followed the instructions on the can for dry time and re-coating time. Again, we use our Wooster brush when painting. It gets amazing coverage.
I don't typically use tape when I paint trim, but if you are painting a carpeted room try using a wide trowel instead of taping. Use it to draw the carpet away from the trim when you paint. We find that works MUCH better than tape!
Can you paint wood trim without sanding?
There is often big debate over to sand or not to sand when painting trim white. They say painting is 90% and 10% painting. I believe it!
The truth is, you’ll need to inspect your trim for yourself and decide. Our trim had lost all of its shine. It was dull and beaten up!
It is a good idea to prep your trim well. Inspect it carefully. What do you see?
It is shiny?
Does it have lots of scratches and or holes?
Trim takes a beating in any home. White paint will draw attention to any holes and cracks.
You may need to use some 80 grit and 120 grit sand paper to reduce shine. If you have significant holes or damage, use some spackling compound to fill those in!
Add more easy inexpensive updates to you home!
After you paint your trim, you may want to consider painting your doors too! Our doors were orange, hollow core doors from the 90’s. I ended up painting those black. I
’m so glad I did! They are stunning. If replacing doors is not in your budget, go for a bold dark color!
Another easy update is to change your outlet covers. We love these because they cover any old off-white outlet! They are really easy to change!
If you don’t want to do white, try gold outlet covers! They make a statement and one down any off white outlets you have in your home.
I LOVE our white trim. Truthfully, I was really scared to tackle this project. It seemed like a HUGE undertaking and I was unsure if the paint would hold up to kids like our wood trim did.
I have not regretted this decision once. It is a cheap update to your home that will brighten and update any space.
Have you painted your trim white? What are your best tips ?


Learn about the Cricut Scoring Wheel versus the Cricut Stylus. What is the Cricut Scoring combo wheel? How do you know when to use the Cricut scoring wheel? Can you use the Cricut scoring wheel with a Cricut Explore Air? And so much more!